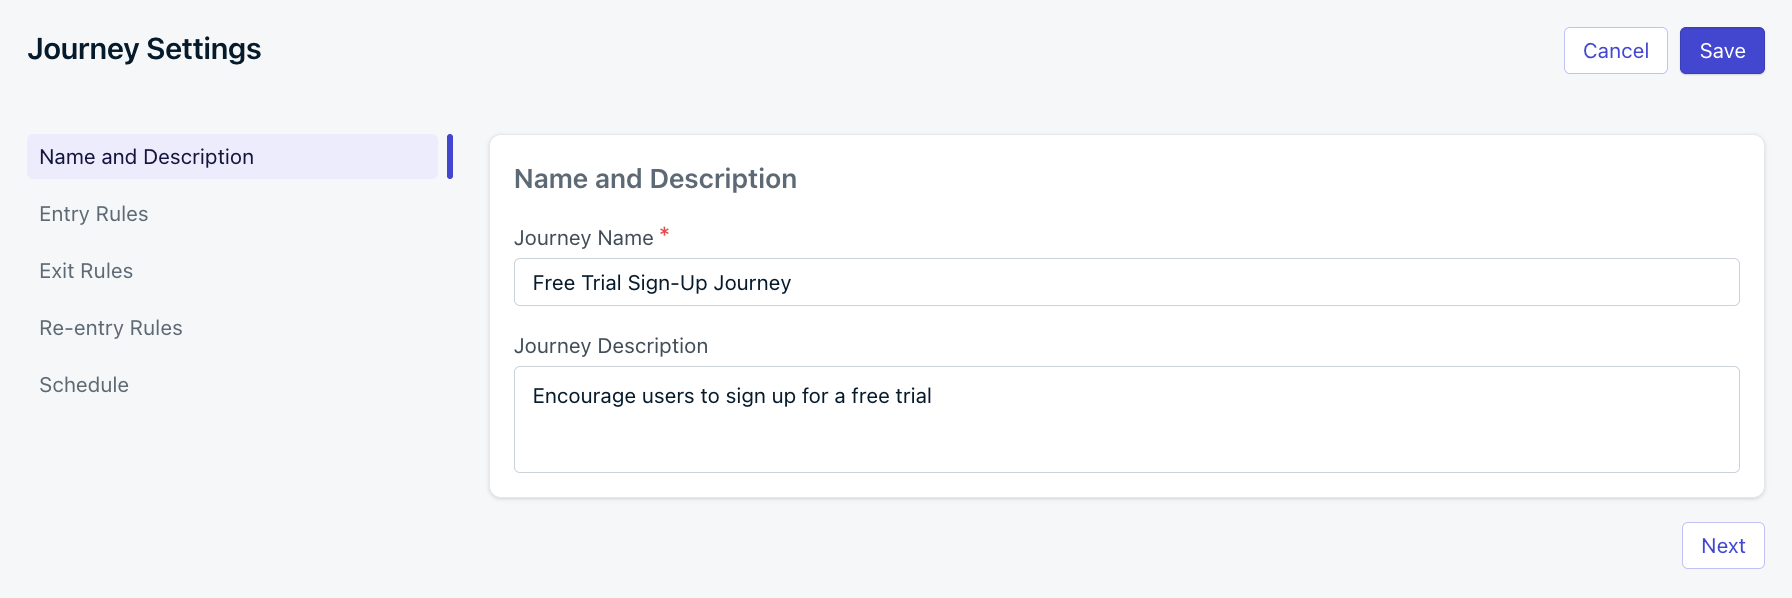
Journey Settings
- Abandoned Cart
- Welcome Campaign
- Inactive User Reach Out
Goals (Alpha)
Set success metrics for Journeys and supported message steps to measure performance over time.
Goals (Alpha)
Set success metrics for Journeys and supported message steps to measure performance over time.
Alpha feature: Journey and Message Goals are currently in alpha.
To become part of the alpha program, contact support@onesignal.com.
To become part of the alpha program, contact support@onesignal.com.
- Journey Goal (overall Journey performance)
- Message Goal (for individual message action steps that support goals)
Journey Goal
A Journey Goal tracks a single success metric for the entire Journey, for example whether users are entering, exit, or complete it.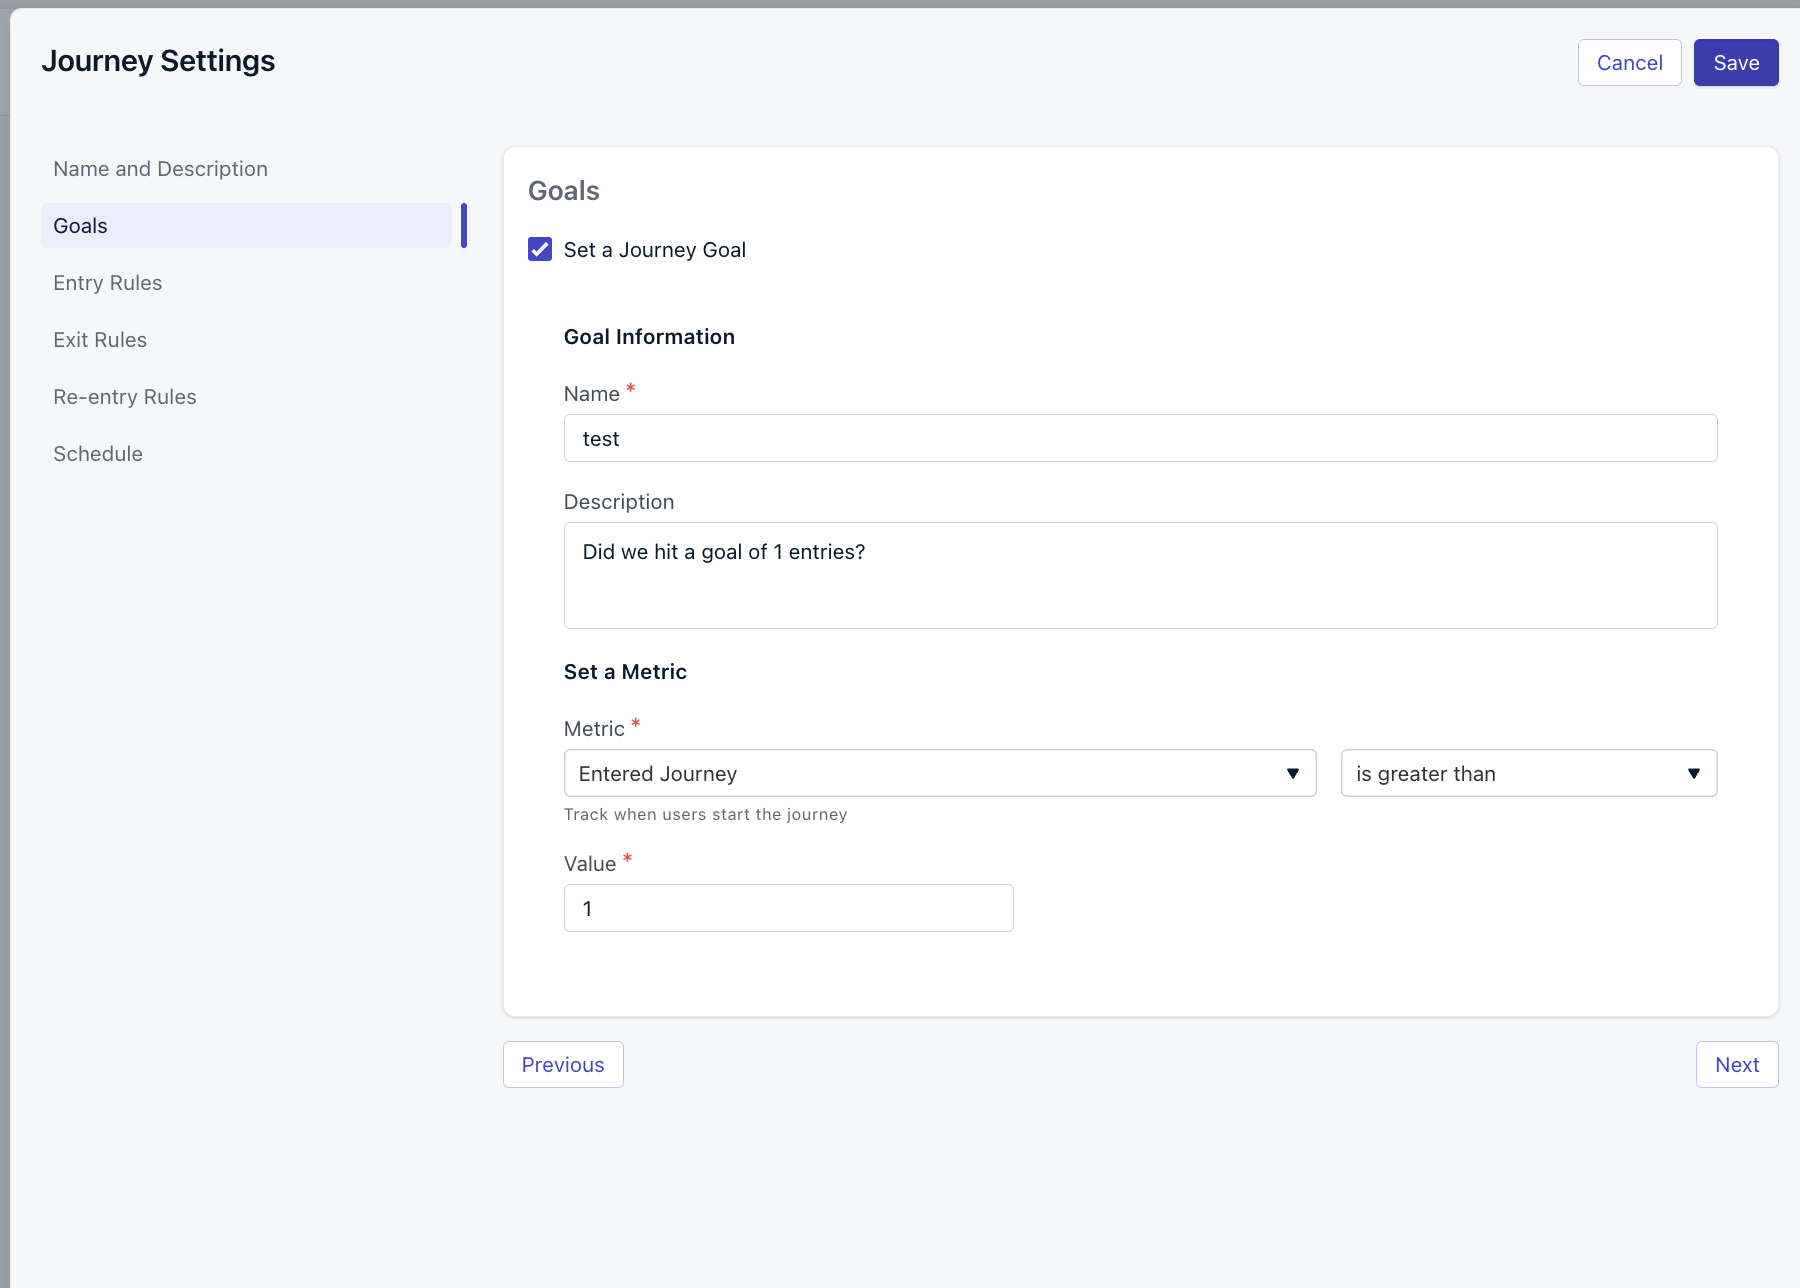
Journey Goal in Journey Settings
- Open your Journey and click Settings.
- Select Goals.
- Enable Set a Journey Goal.
- Enter a Name (required) and optional Description.
- Choose a Metric and condition, then set the Value threshold.
- Click Save.
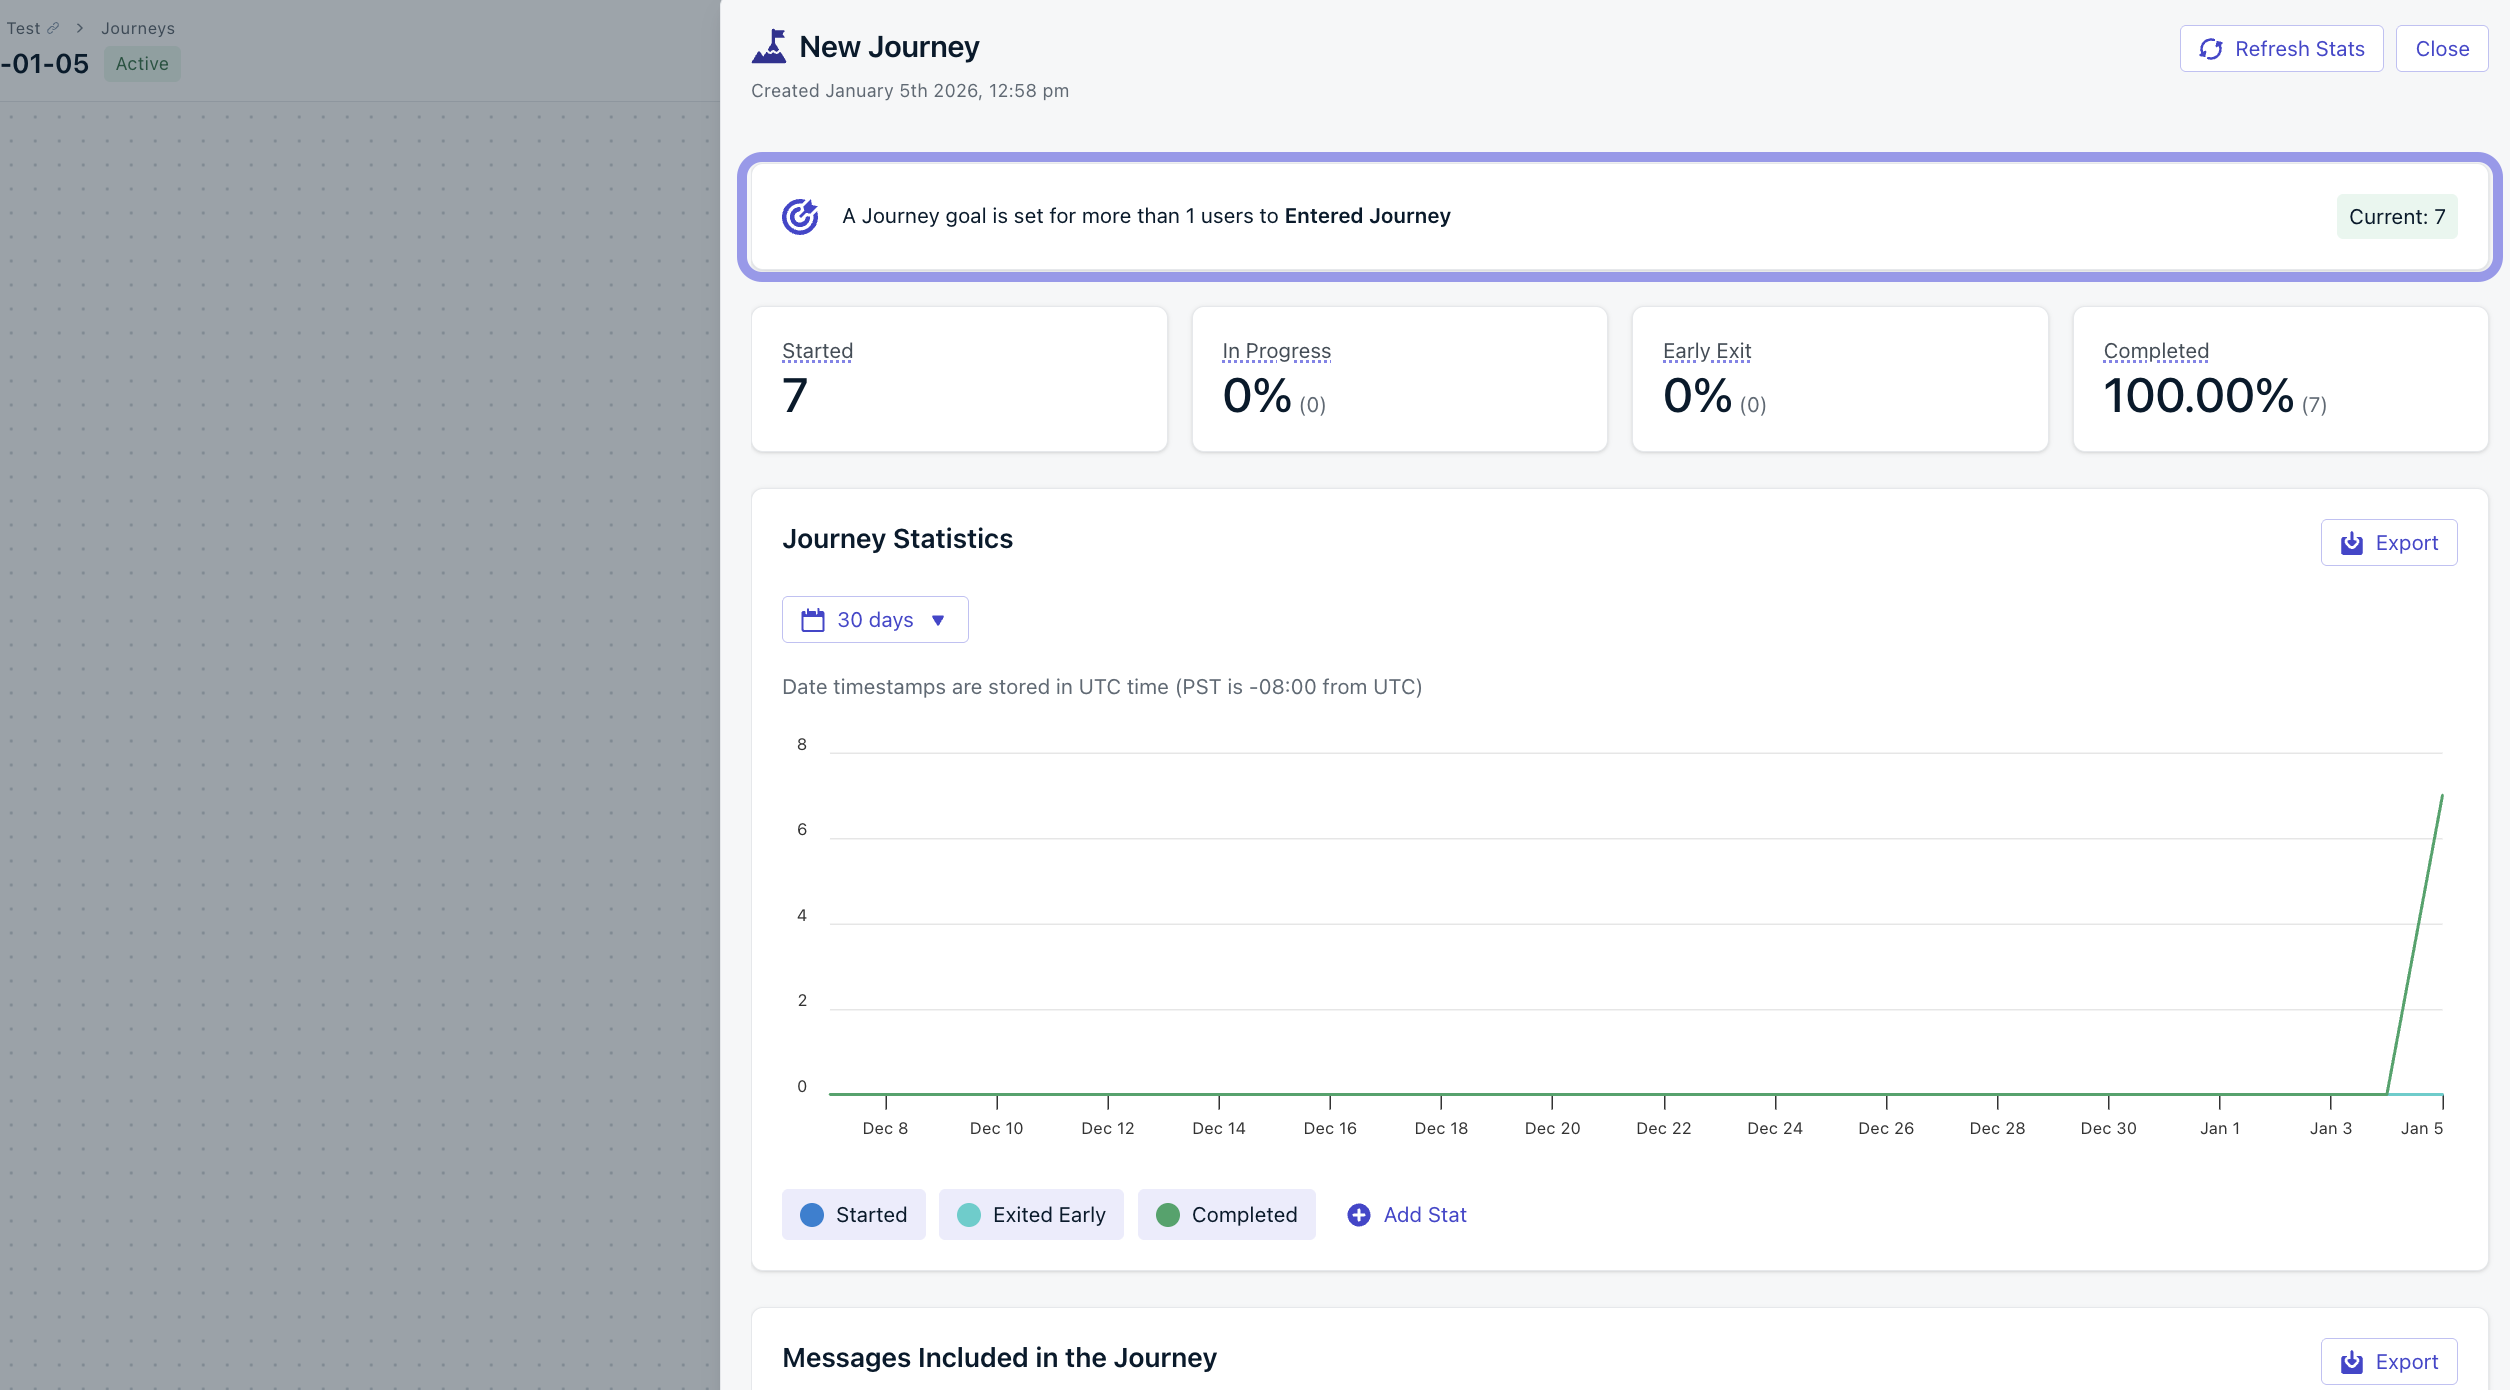
Journey Goal shown in the Journey report
Journey Goal metrics
Journey Goals support Journey level engagement metrics such as:- Entered Journey (users who started the Journey)
- Completed (users who reached the end)
- Exited Early (users who left due to exit rules)
- “Did at least 100 users enter this Journey?”
- “Are most users completing it?”
- “Are too many users exiting early?”
Message Goals (Push + other supported message steps)
Message steps support their own Message Goal, which measures performance for that specific message. For example, a Push Notification step can track CTR, confirmations, or clicks.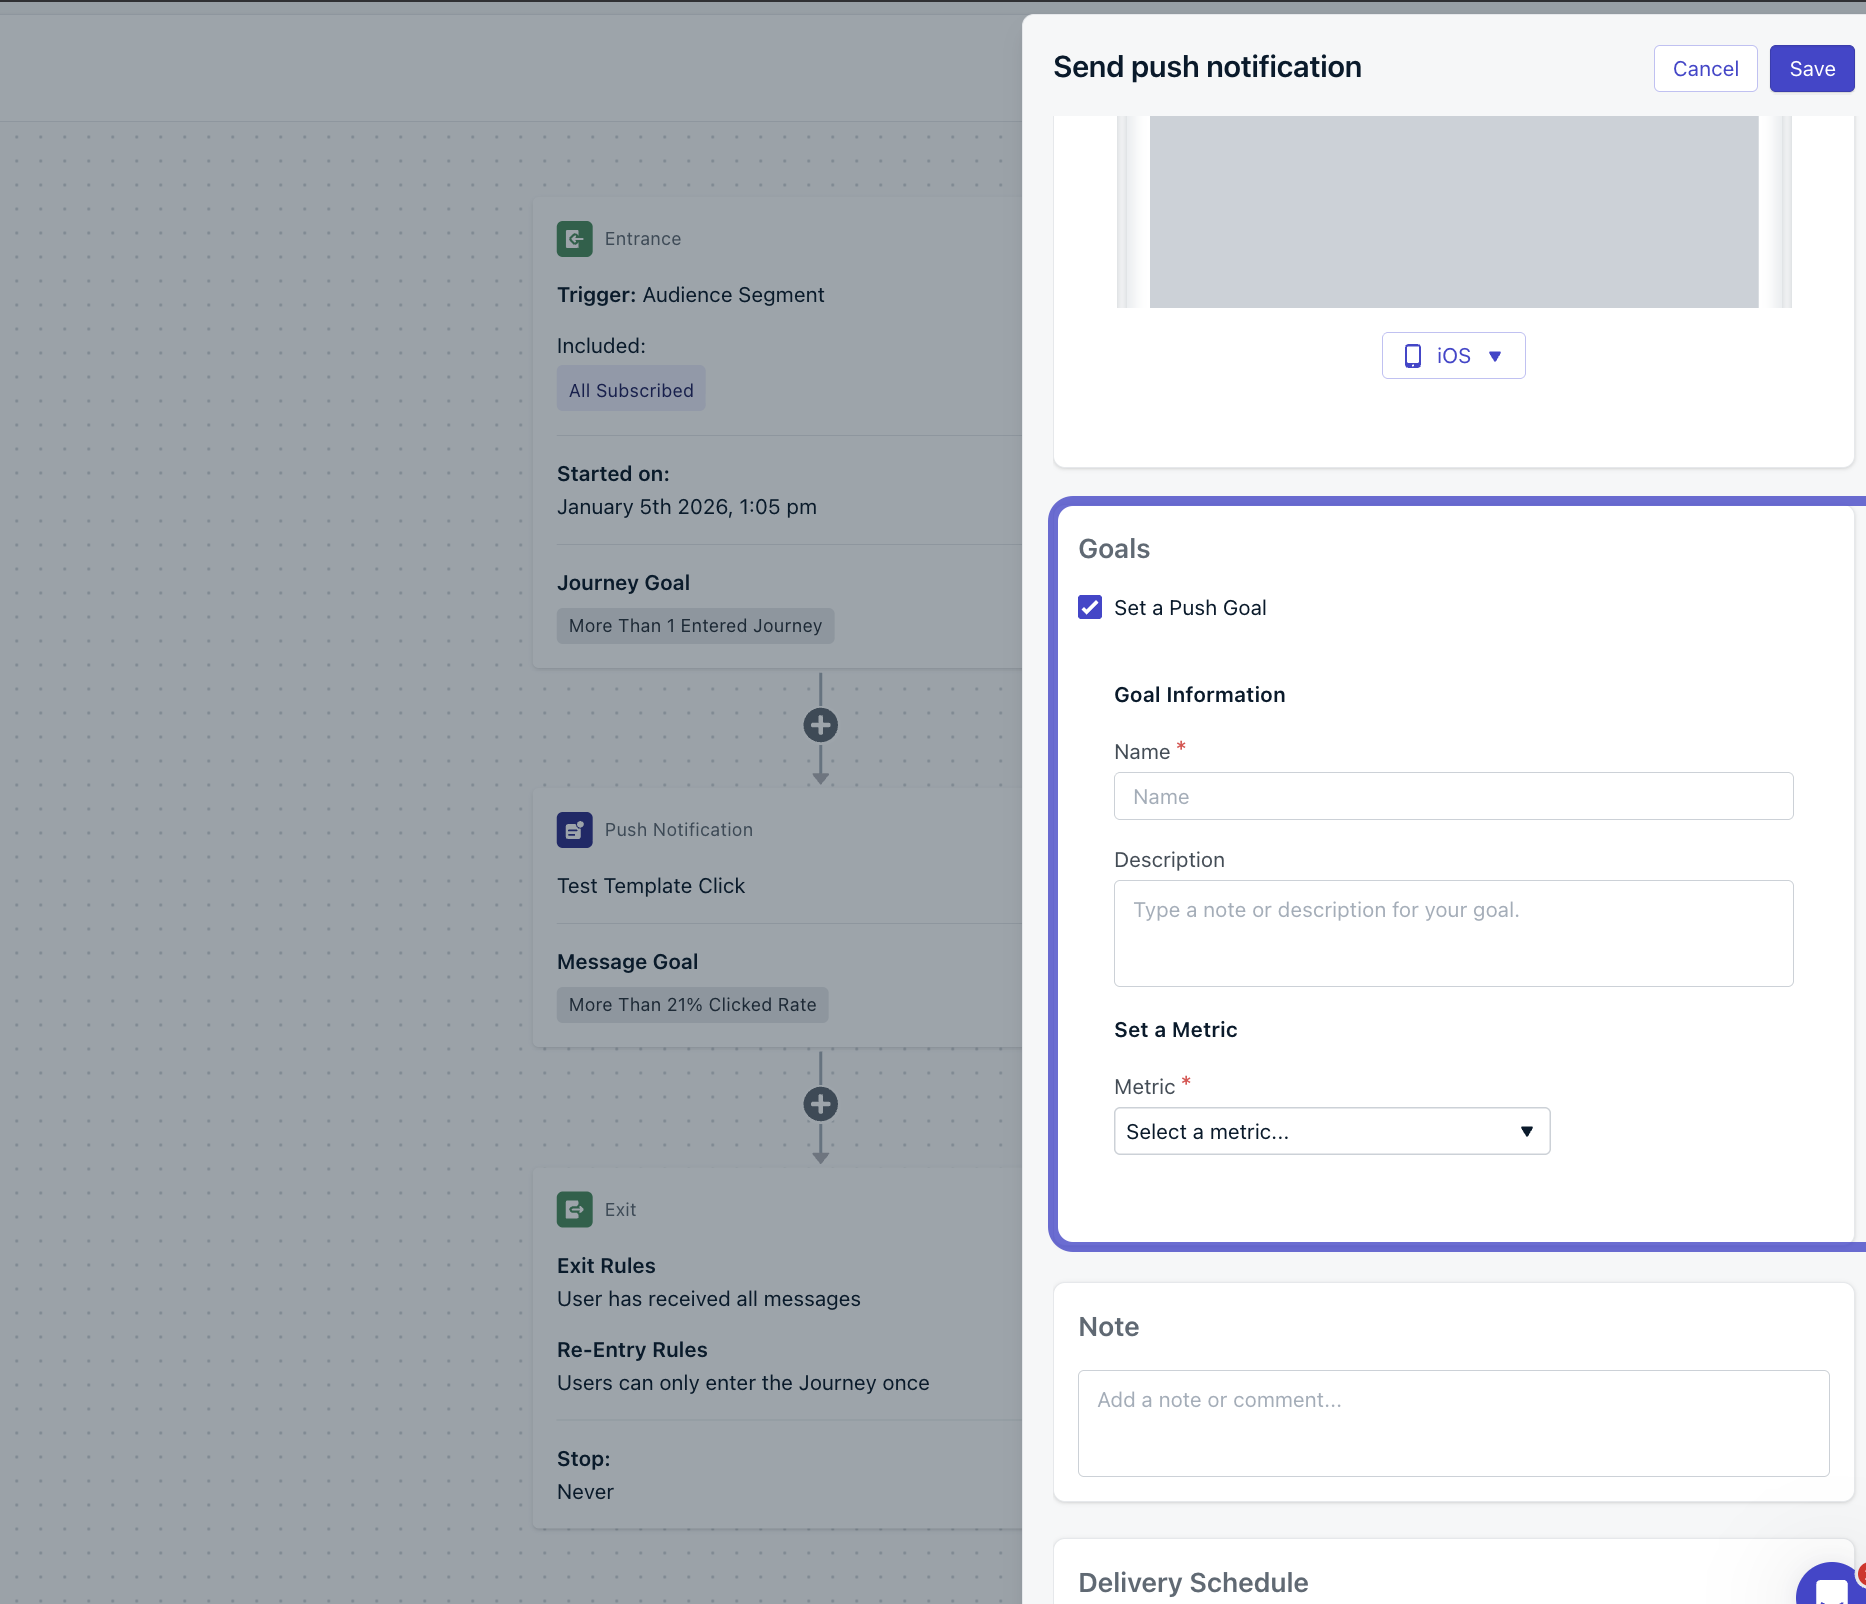
Message Goal configuration inside a Push Notification step
- Click the message action step in your Journey (for example, Push Notification).
- In editor, enable Set a Push Goal (or equivalent goal toggle).
- Enter a Name and optional Description.
- Select a Metric, condition, and Value.
- Click Save.
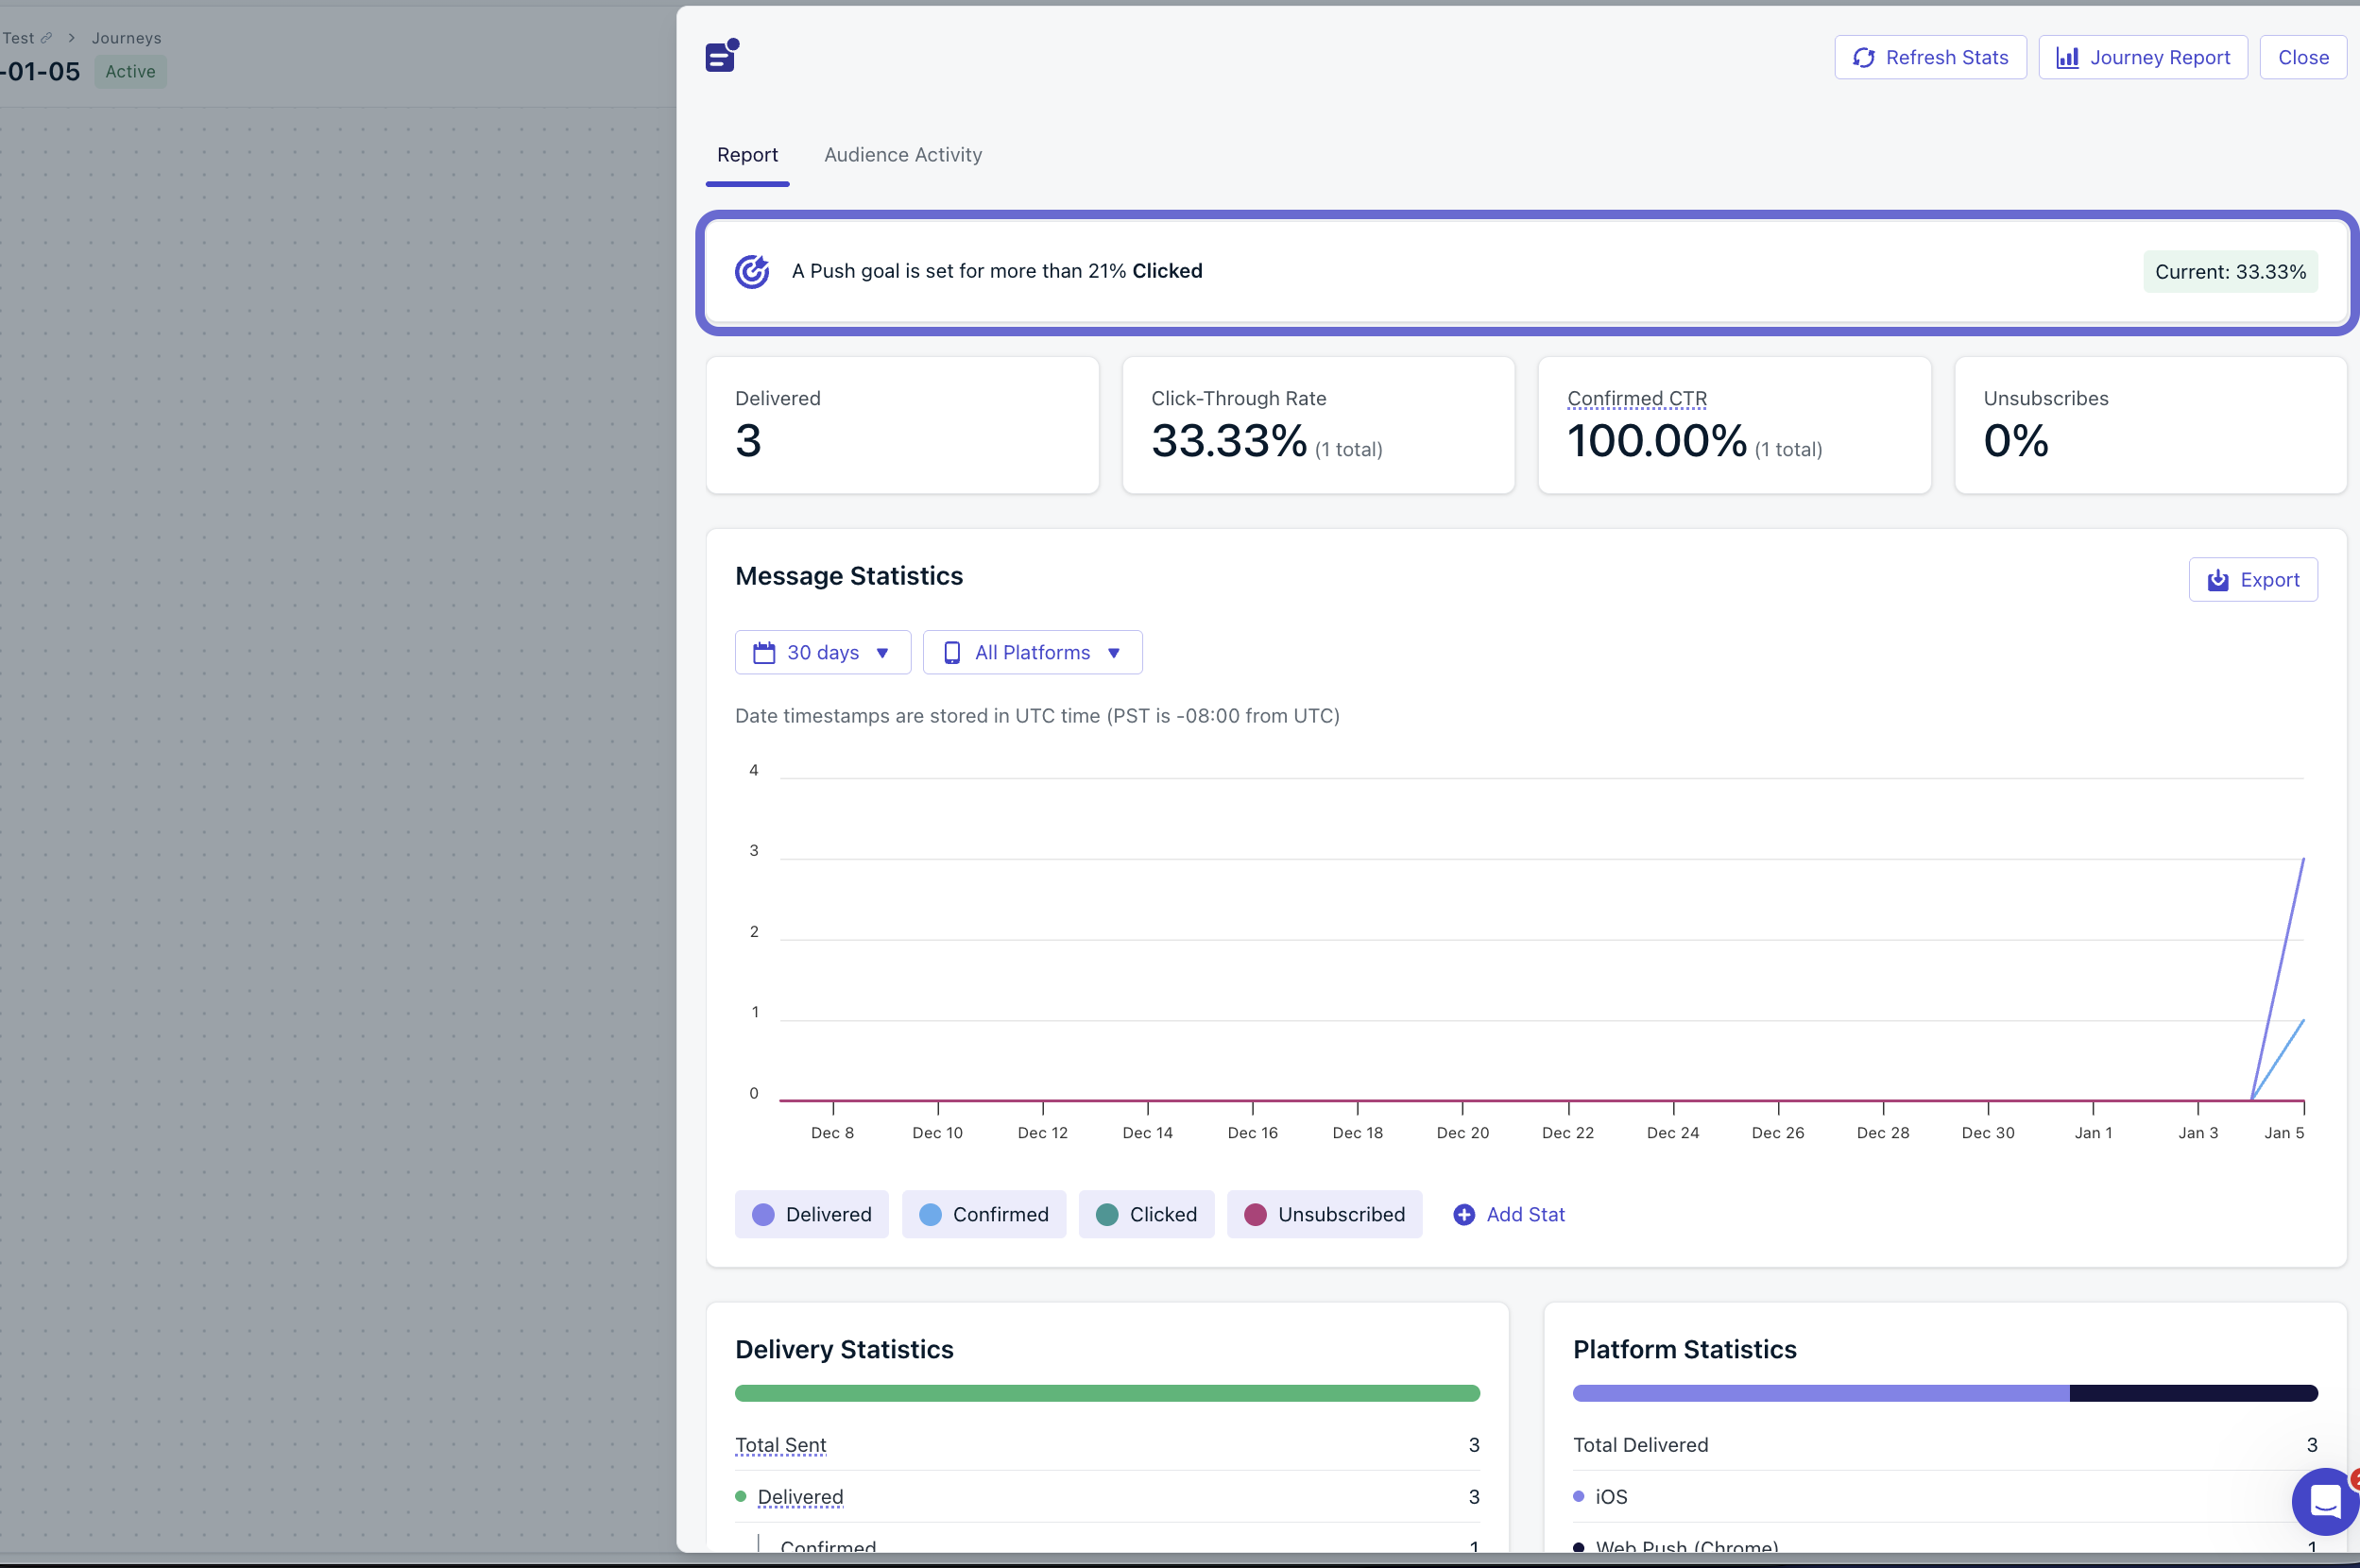
Message goal displayed in the message report
Message Goal metrics (Push)
Push goals support delivery and engagement metrics such as:- Sent
- Delivered
- Confirmed
- Clicked
- CTR
- Failed
- Unsubscribed
- Capped
- Rate (percentage-based), like CTR
- Count (total number), like clicks
Entry rules
Entry rules define how users can enter your Journey based on their segment membership or custom events.- You cannot use both Segments and Custom Events for Journey entry rules. However, you can use Custom Events to continue users through a Journey via the Wait until step.
- Once a Journey is set live, you cannot change the entry rules from Segments to Custom Events and vice versa. You will need to stop & archive the Journey, duplicate it, and start a new Journey.
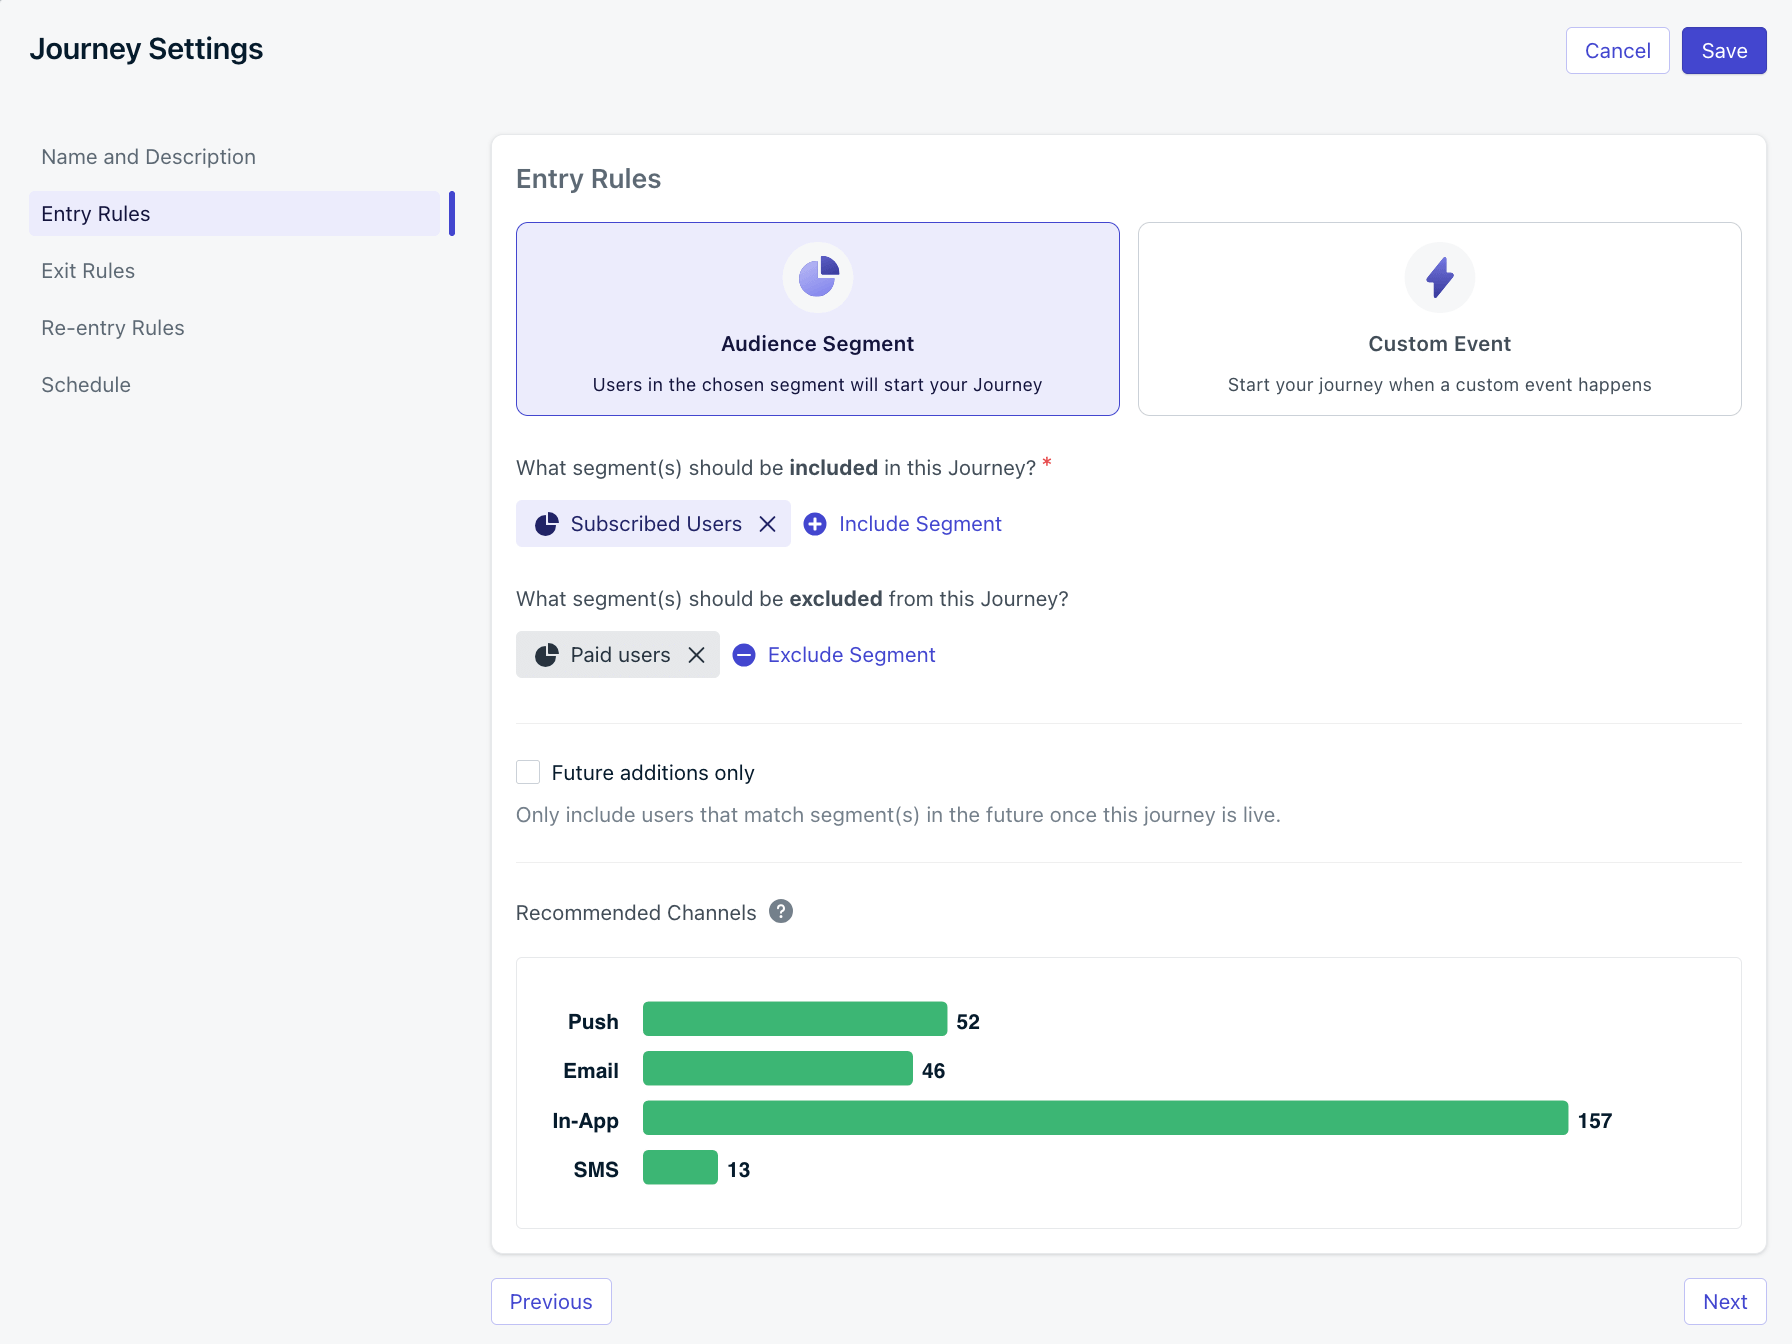
Entry rules for a Journey
Audience segment
Use Include Segment and Exclude Segment to control who qualifies for your Journey. Segment checks are done at the Subscription-level and consider all of a user’s Subscriptions. If a user is qualified to enter the Journey but also fits the Exit Rules, they will enter the first step of the Journey before exiting.How inclusion and exclusion logic works
- ✅ If any Subscription is in an Included Segment(s) → the user enters the Journey.
- ❌ If any Subscription is in an Excluded Segment(s) → the user is blocked entirely.
Future additions only
Segments are dynamic and have users entering and exiting them constantly. Checking this option means any user currently in the included or excluded segment at the time the Journey is set live will never enter the Journey. Even if the user leaves the segment and enters again, they will never enter the Journey. This is ideal for one-time onboarding campaigns where users should not re-enter after completing the Journey once.If you update the segment criteria after the Journey is already live, the behavior changes slightly:
- Users who were in the original segment at go-live remain permanently excluded and cannot enter, no matter what.
- Users who are in the new or updated segment at the time you save the change are treated as eligible and will immediately enter the Journey.
- After that point, only users who newly qualify for the updated segment will enter.
- Duplicate the Journey
- Apply the new segment
- Set “Future Additions Only” on the duplicate
- Launch the new Journey
- Archive the old Journey once existing users complete it
Custom events
Define which specific users should enter the Journey based on Custom Events. Users that satisfy the entry rule requirements can be added to the Journey more than once at the same time. When a Custom Event name and optional properties match the entry rules, the user enters the Journey and that event is stored. The stored event may be referenced in Liquid Syntax and used for Event Matching. If you enter the user into the Journey multiple times, each entry can have unique properties based on the data you pass in the Custom Event payload.- Custom Event Name: Enter the Event Name that you plan to send via API.
- Filter by property: Add any additional properties that you’d like to reference to filter who enters the Journey.
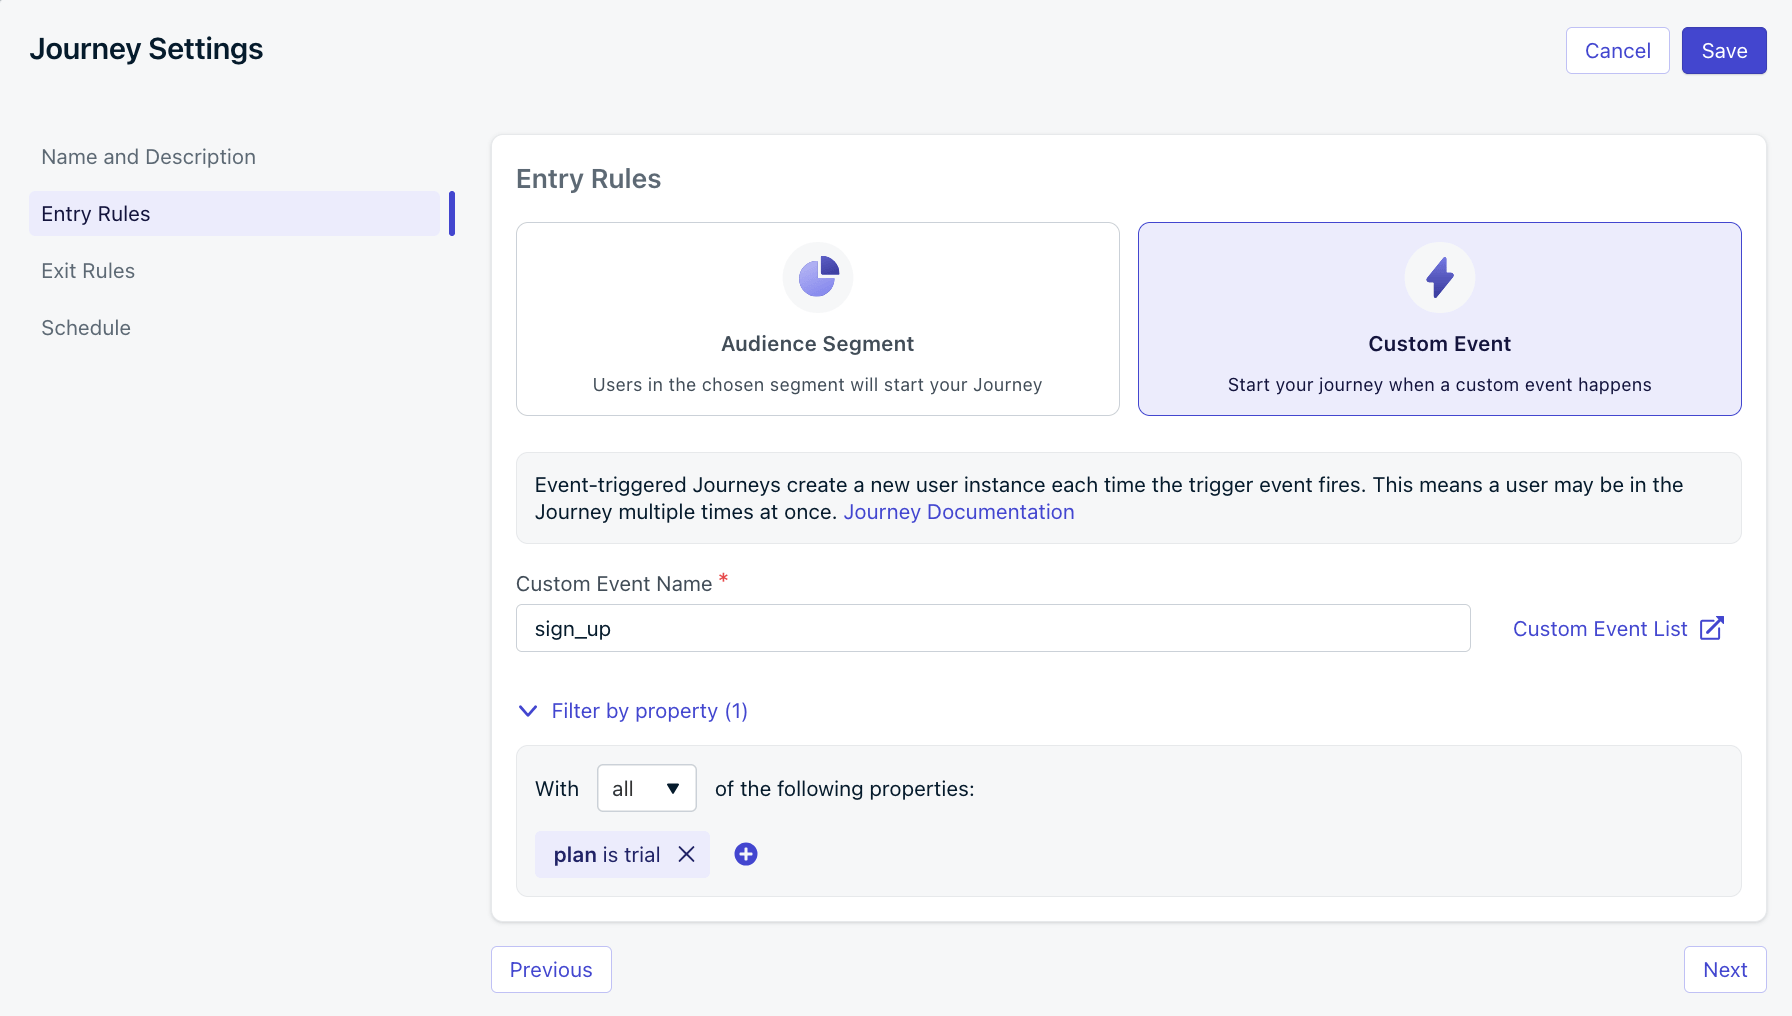
Custom event entry rule requires the sign_up event to include the property plan is trial
Exit rules
Exit rules define when users automatically leave the Journey. They may re-enter later based on your re-entry settings.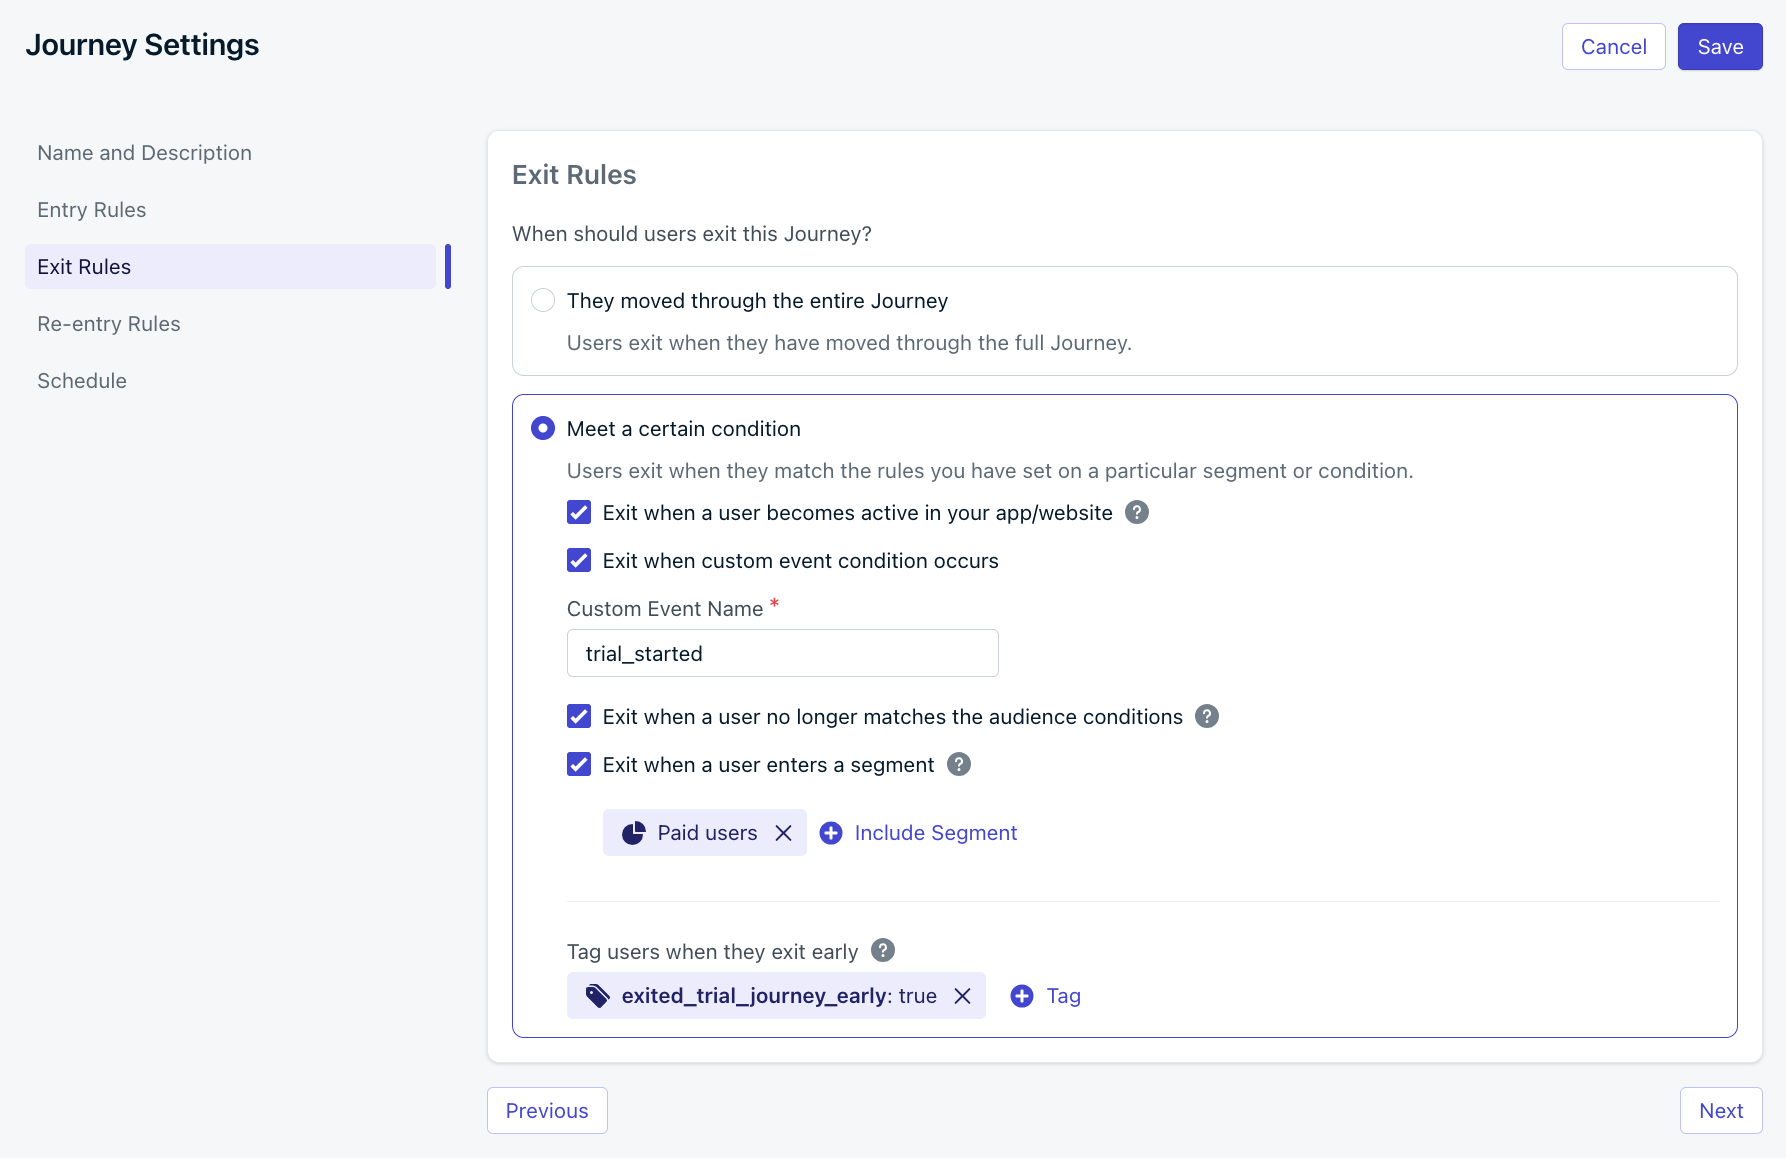
Journey exit rules
Exit when user becomes active in your app/website
As soon as the user returns to your app or website with the OneSignal SDK, their “last session” updates making them active again. Therefore, they exit the Journey. Useful for re-engagement or reactivation Journeys.Exit when custom event condition occurs
Send a Custom Event to exit the user from the Journey immediately.Exit when user no longer matches the audience conditions
Automatically remove users if they stop matching the original entry rule audience segments.Exit when a user enters a segment
If a user enters a selected segment at any point, they are removed from the Journey and stop receiving messages.Tag users when they exit early
Apply or remove a tag when users exit early.- Leave the value blank to remove an existing tag.
- If the app is at the tag limit, no tag will be applied.
-
Trigger another Journey:
Tag users (e.g.
exited-journey-1:true), then use that tag to define a segment for your next Journey. -
Limit concurrent Journeys:
Tag users when they enter (
in-journey:true), and remove the tag when they finish or exit. This allows you to exclude them from other Journeys using that tag.
Re-entry rules
Re-entry rules determine if—and when—users can enter the Journey again after exiting. Re-entry rules can only be configured for Journeys with Audience Segment entry rules because re-entry is always supported for Custom Event entry rules.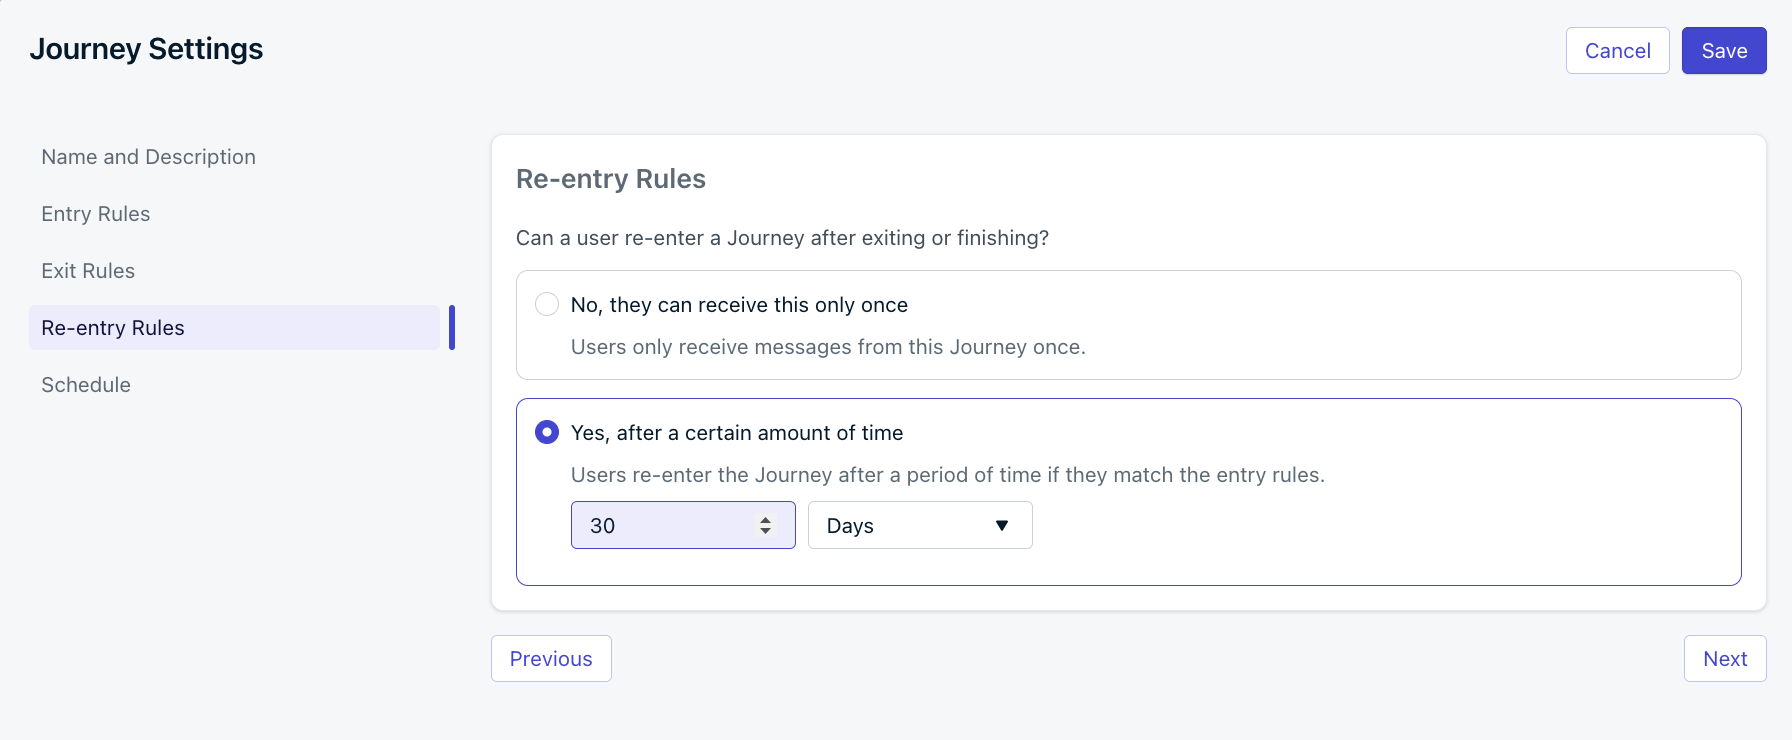
Journey re-entry rules.
Schedule
Set when the Journey should start and end.- Start the Journey immediately or at some point in the future.
- The Journey will appear as Scheduled in the dashboard until the start time.
- It automatically becomes Active at the configured start time.
- Allow the Journey to run indefinitely until you stop it or set a future end time.
- If end date set, the Journey will be Stopped and Archived automatically once the end time is reached.
- All messages immediately stop for users currently in the Journey.
- These users will not trigger exit or early exit events.
Let current users finish the Journey
To stop new users from entering but let current ones finish:- Update the Entry Rules Audience Segment to only include an empty segment (e.g. a Test Users segment).
- Update the Exit Rules to Uncheck “Exit when a user no longer matches the audience conditions”.