How It Works
When OneSignal detects any of the following conditions:- An email recipient marks your message as spam
- An email address has previously bounced
- Maintain a clean email list
- Improve overall deliverability
- Protect your sender reputation
- Reduce bounce rates
Managing Your Suppression List
You can view and manage your suppression list by navigating to Settings > Email > Suppression: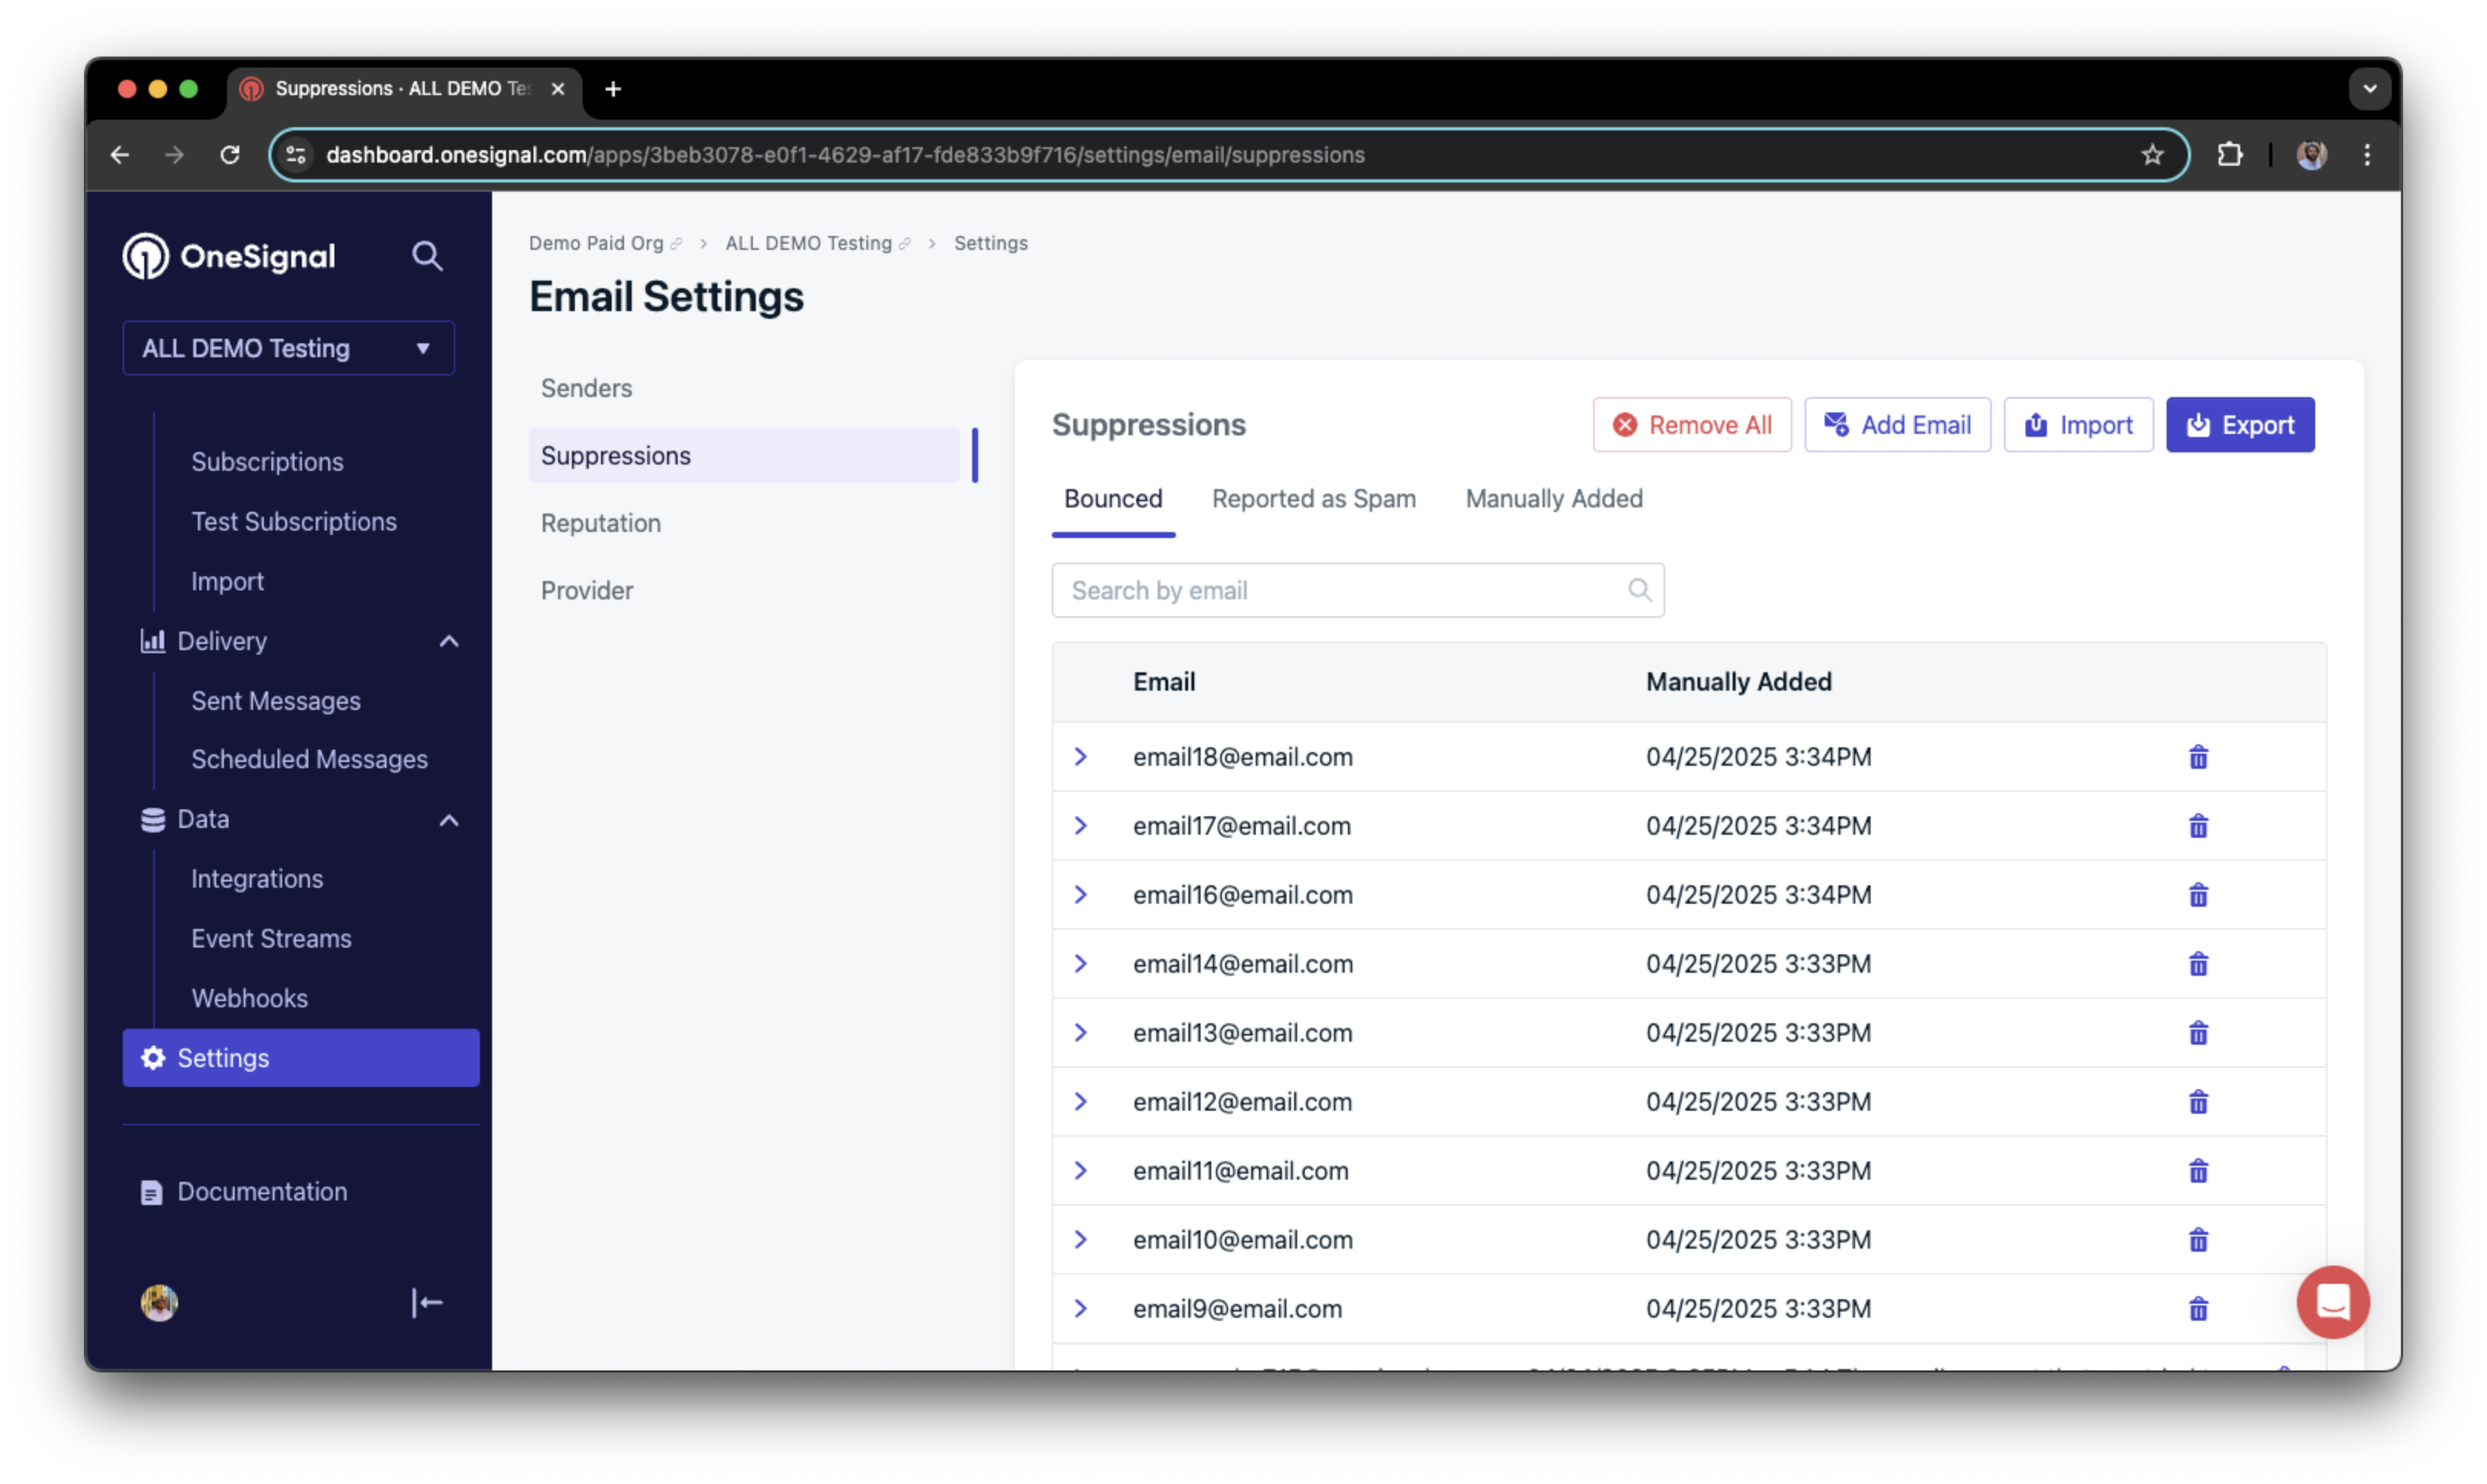
A suppression list in OneSignal
Adding new suppressions
To manually add a new email address to your suppression list, you can click the Add Email button to add the email manually: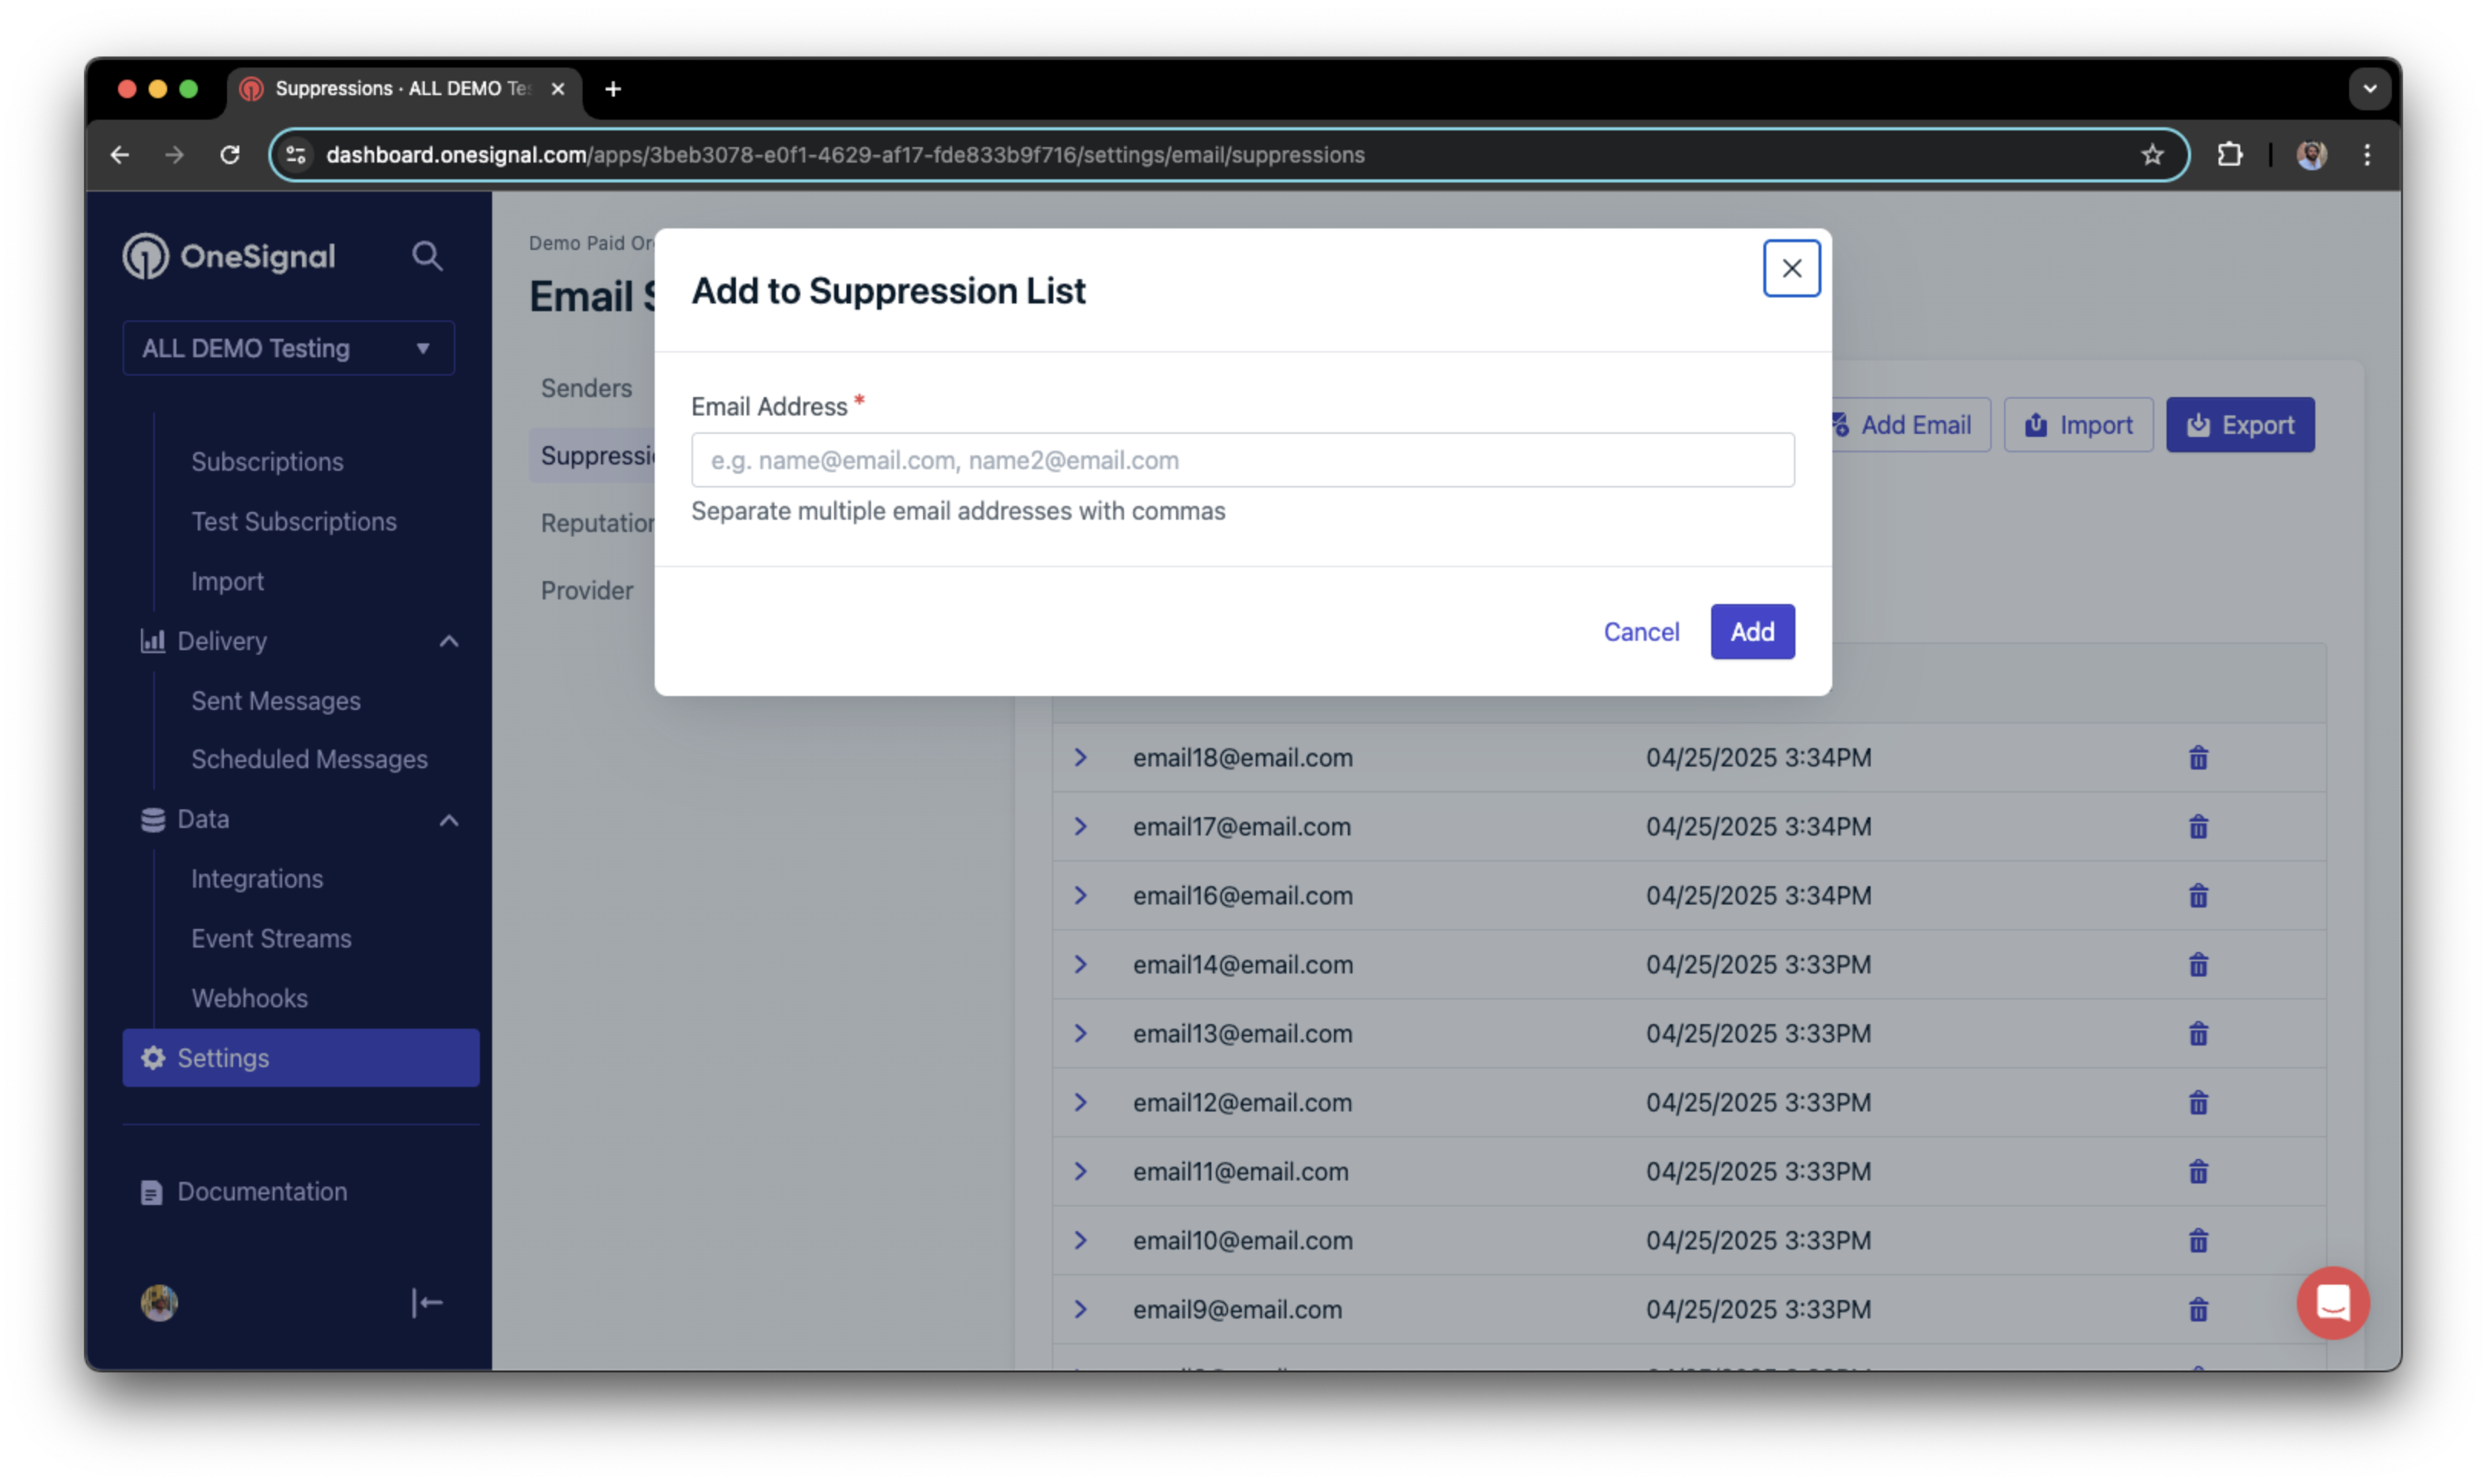
Adding an email to a suppression list manually
suppressed column with the value set to true for each row. You can then map this column to suppressed after uploading your CSV:

Using the CSV import tool to add a suppression list
Removing suppressions
To remove a suppression, you can click the trash icon next to an email in the list to remove that email from the suppression list: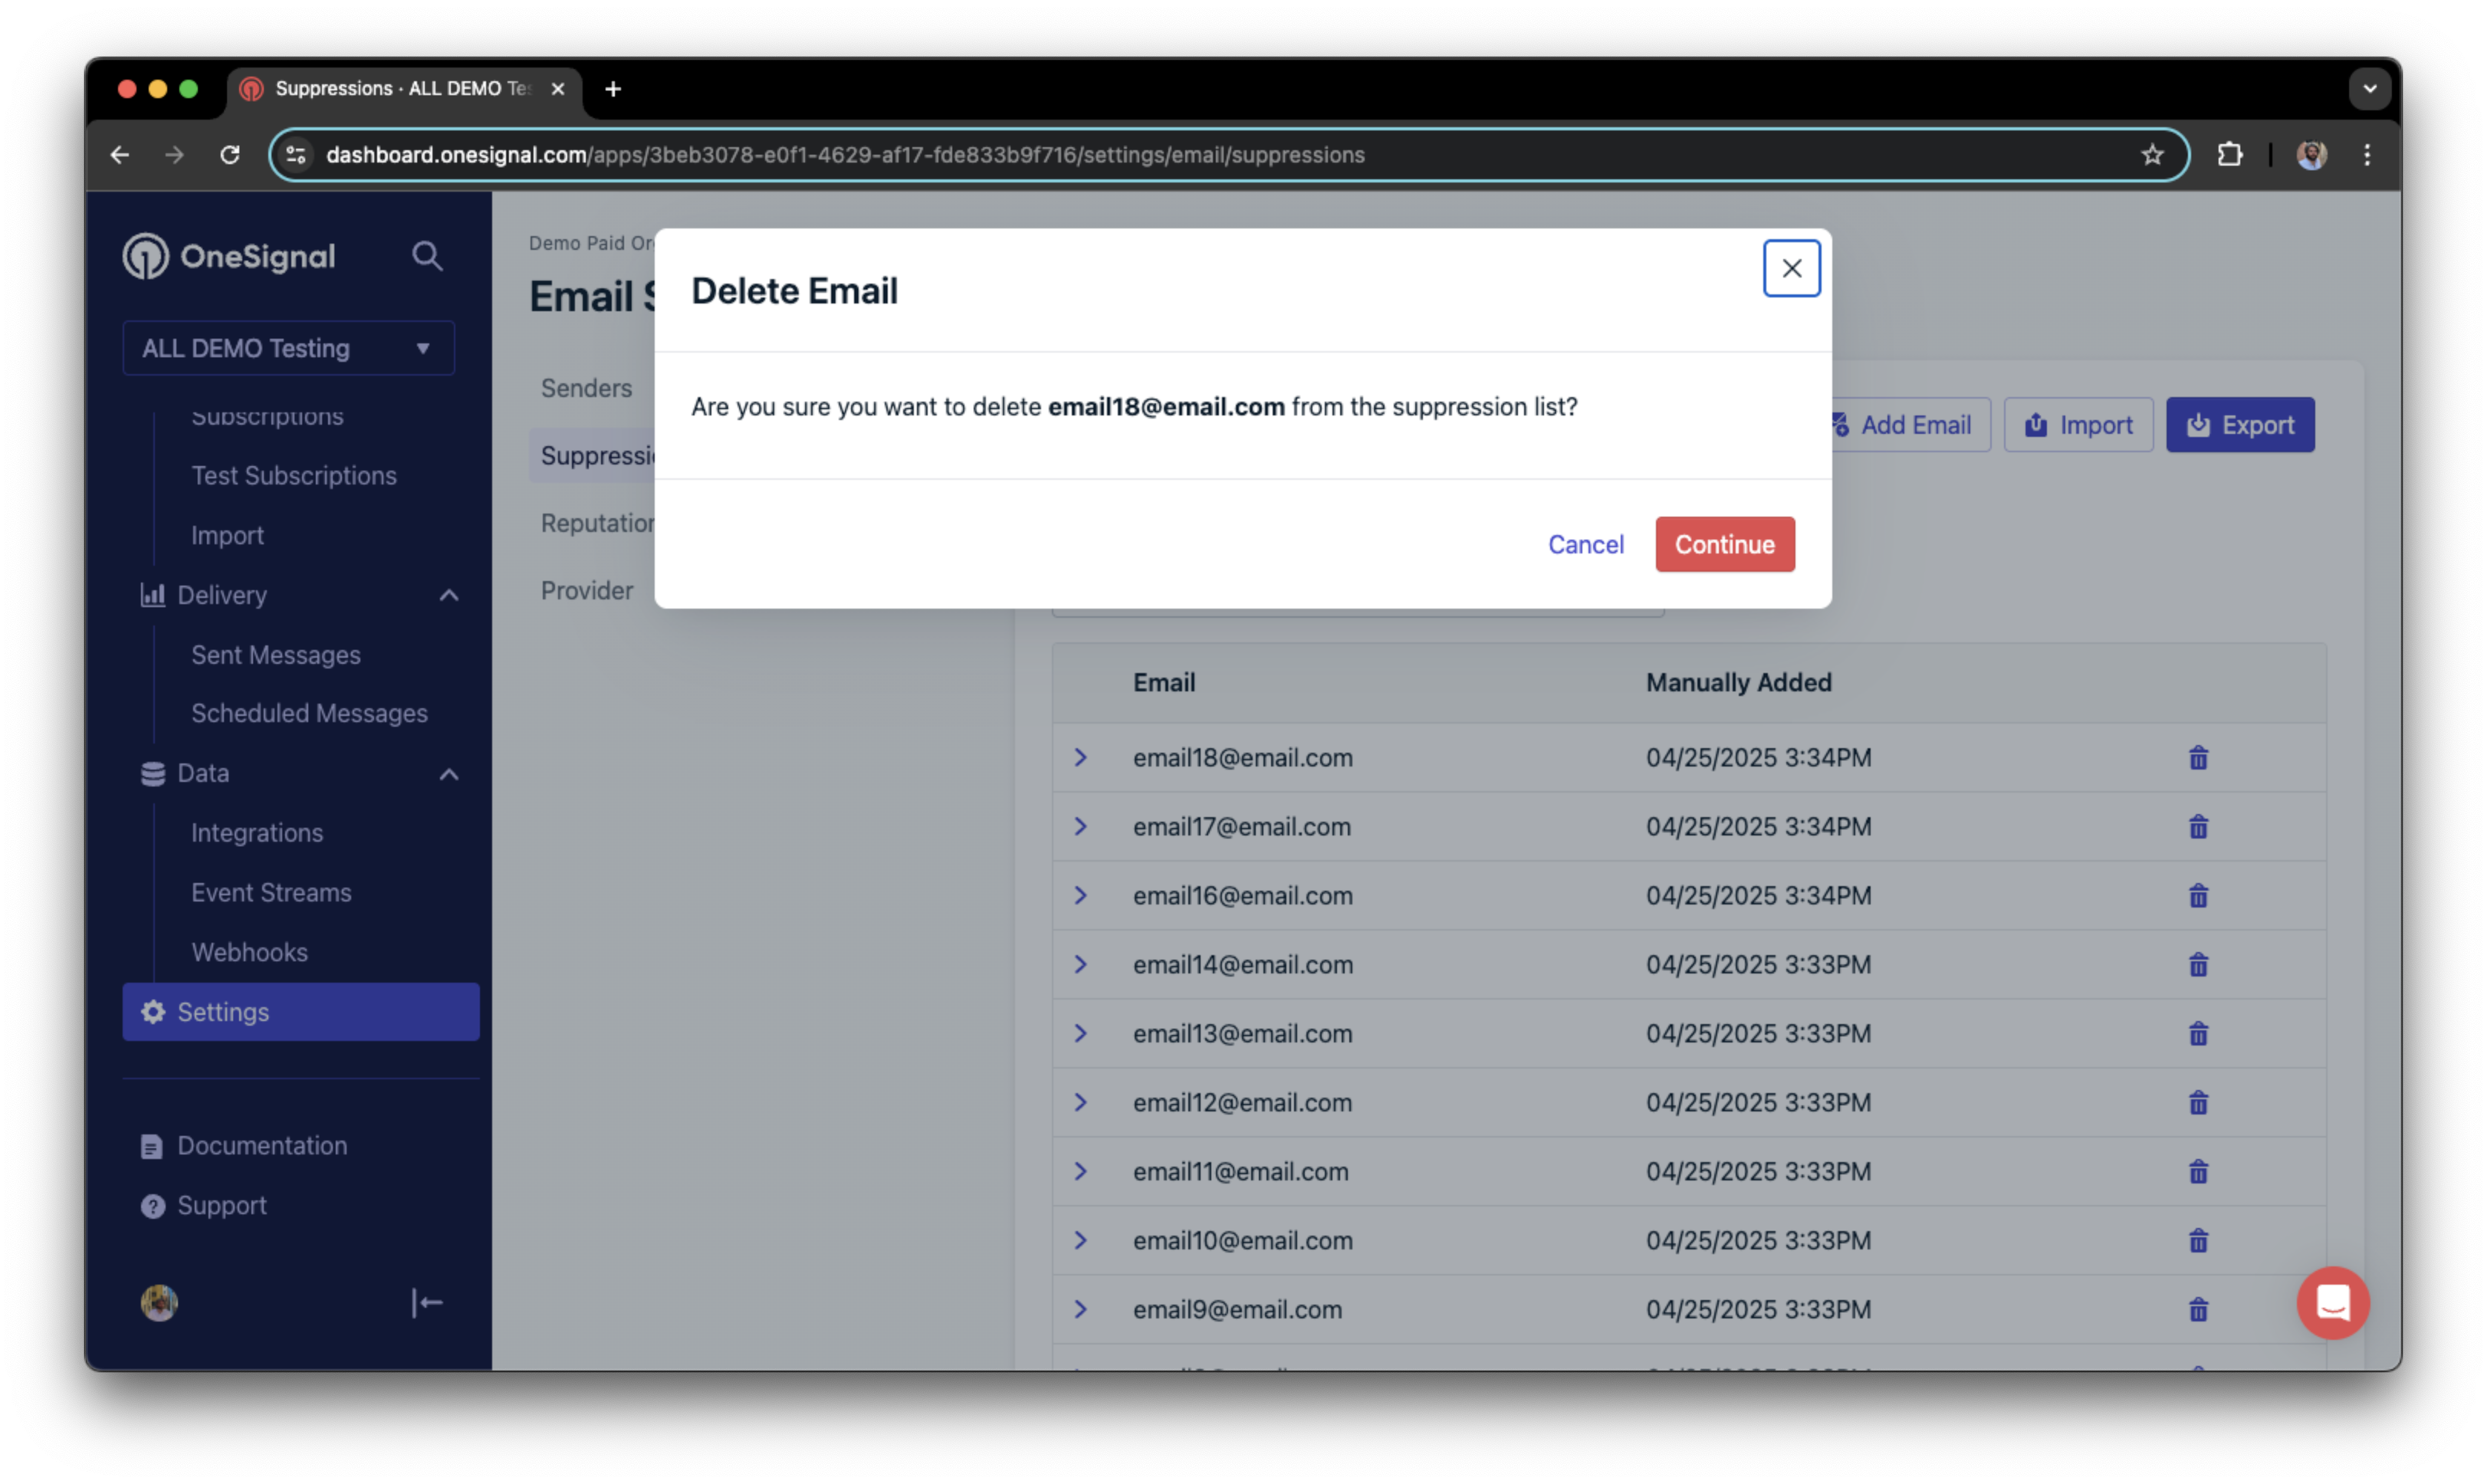
Deleting a single email from a suppression list
suppressed column with the value set to false for each email that you want to remove. You can then map this column to suppressed after uploading your CSV:
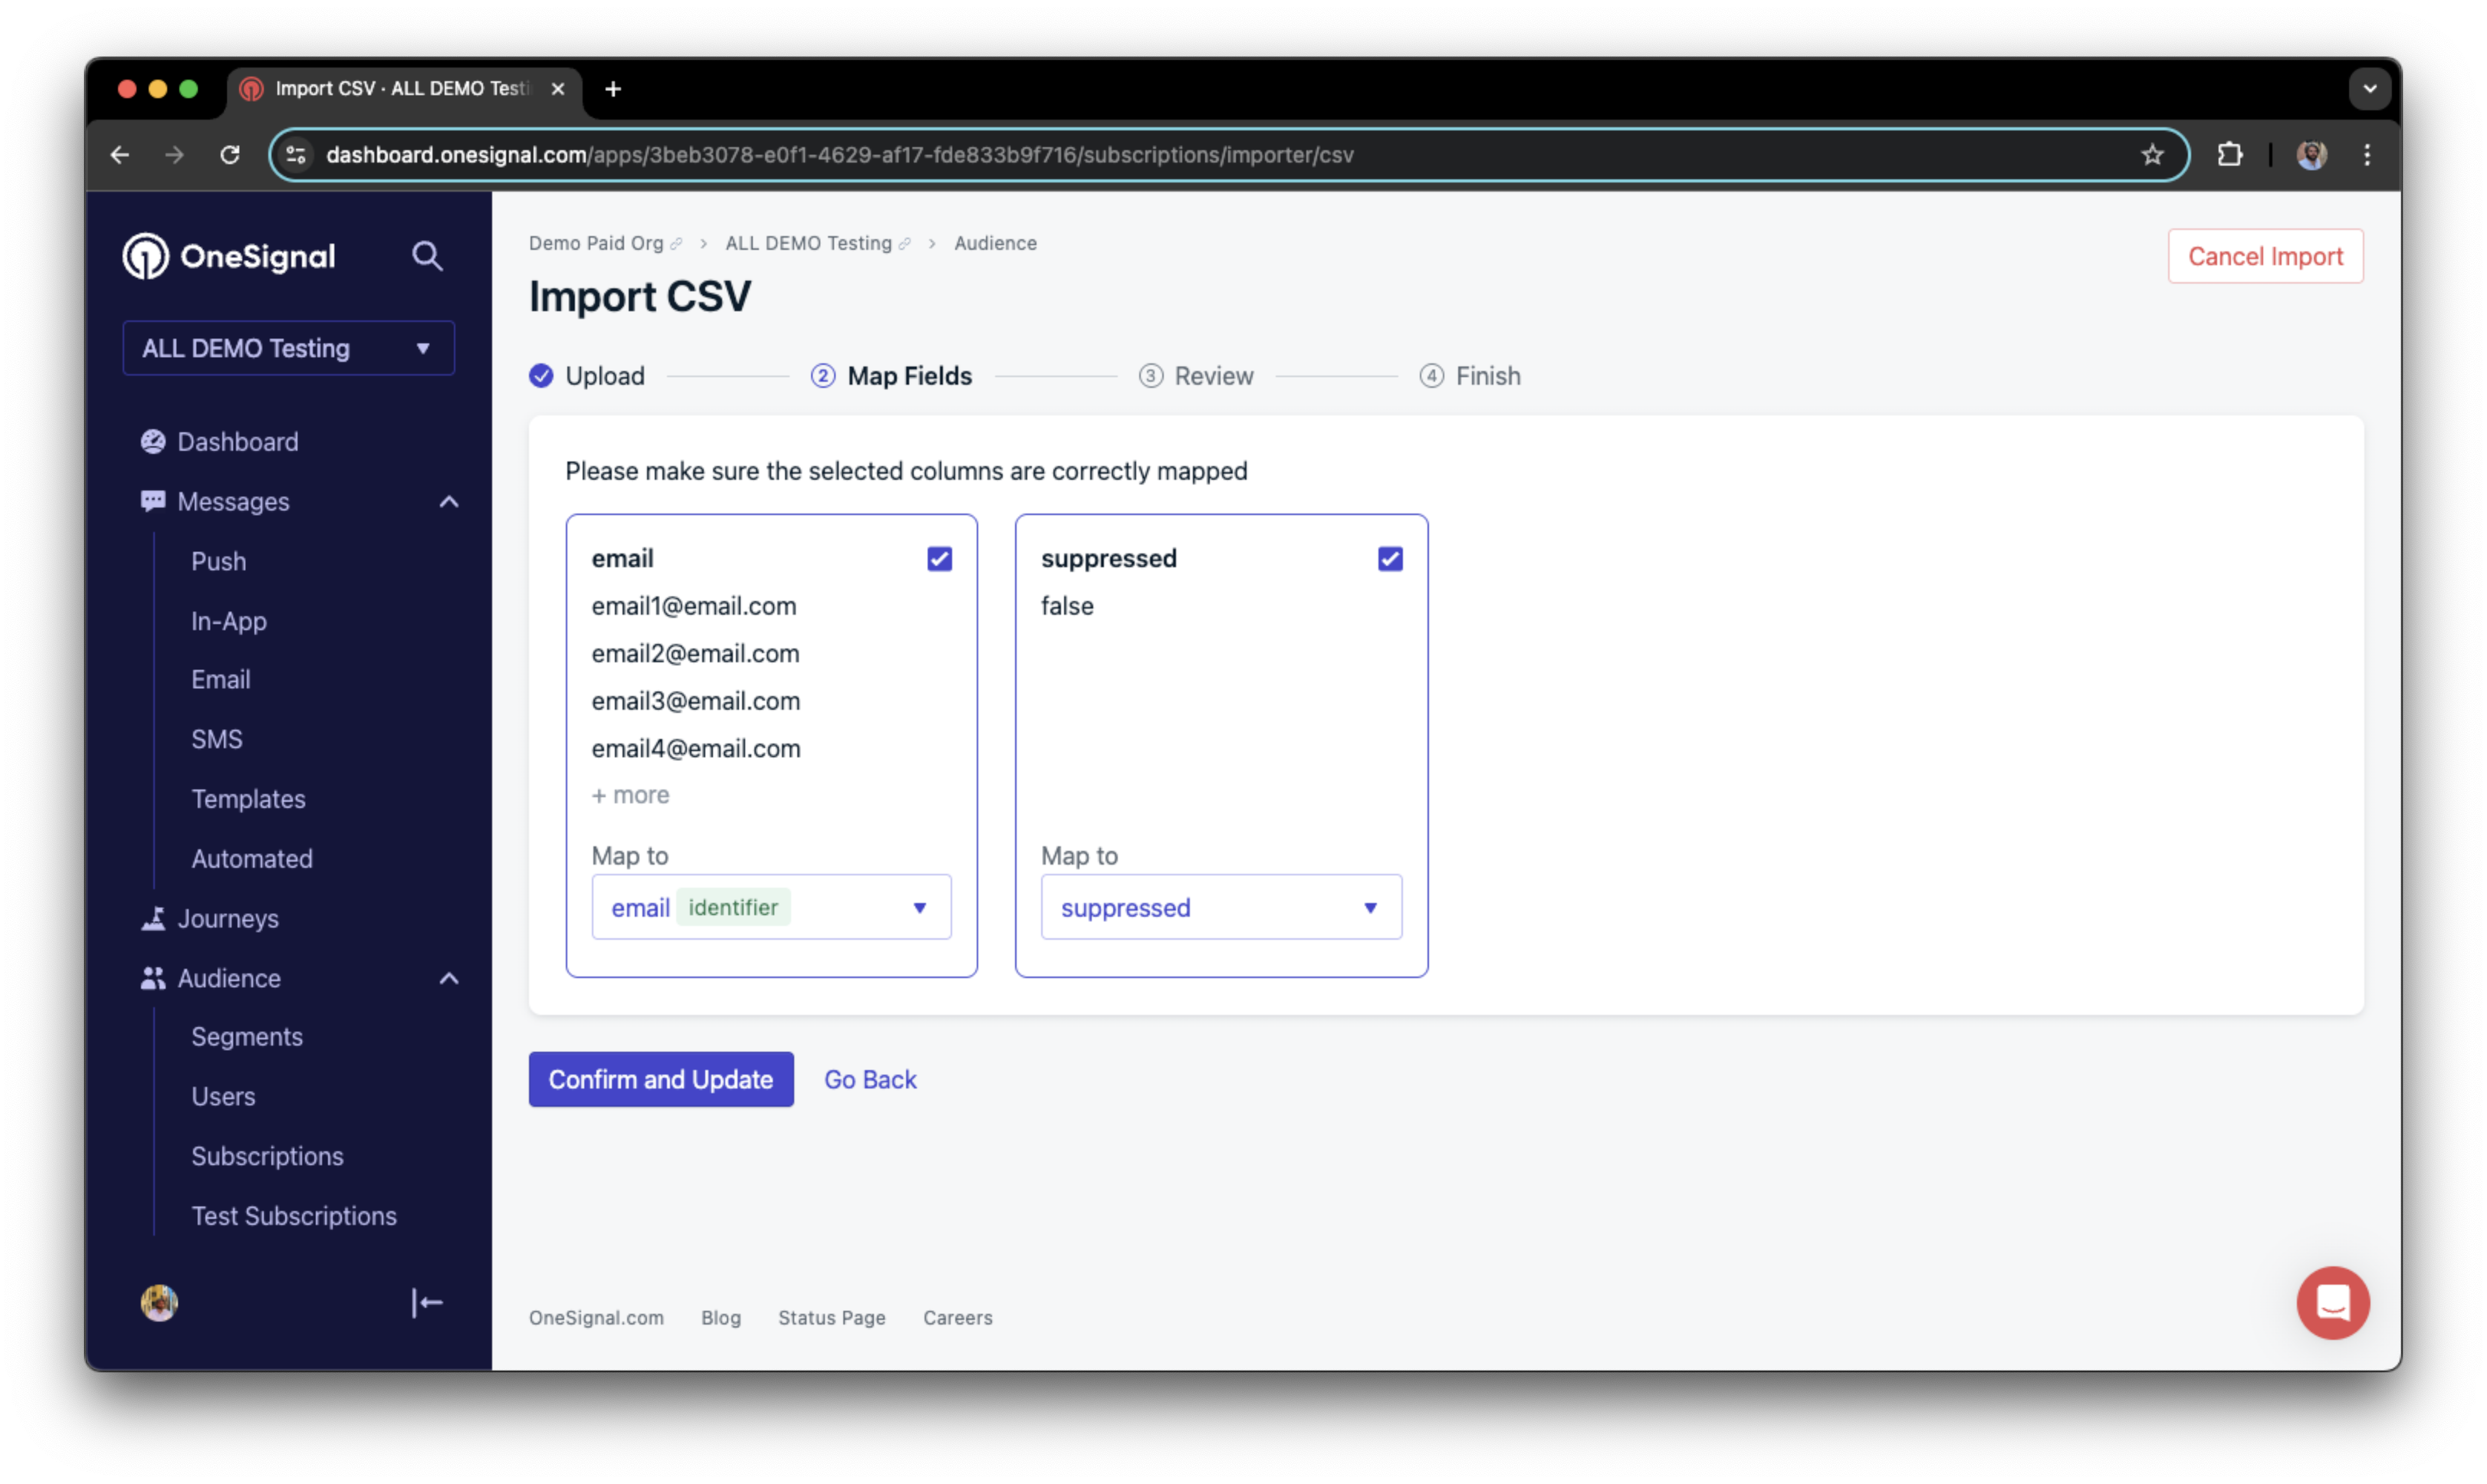
Using the CSV import tool to remove multiple email addresses from the suppression list