Requirements
- You must be a HubSpot Super Admin or have App Market Permissions in your HubSpot account.
- Upgraded OneSignal account (not available on free apps).
Legacy Customers only: Migrating to the new HubSpot integration
Legacy Customers only: Migrating to the new HubSpot integration
Installing the new HubSpot integration
As described in the general guide, users will now need to activate the HubSpot integration from their OneSignal dashboard, in the Integrations section of their App’s SettingsMigrating your workflows
While it’s not required, we recommend creating a new workflow to test the new integration before replacing the Actions in your existing Workflows. Some users also maintain separate staging and production HubSpot environments for testing purposes.Clone your workflow
On the Workflows page in HubSpot, you can click the Clone button next to your existing workflow to create a new copy of it.Remove triggers from the new workflow
After cloning it, you should first remove any triggers in the newly created Workflow. This will ensure that you can publish the new workflow without inadvertently triggering it automatically.Update legacy OneSignal actions with the new versions
You can then go through your workflow, removing all legacy OneSignal actions and replcaing them with the new one. Since you will likely have both the legacy OneSignal app installed while also using the new OneSignal-built integration, it will be important to be careful to ensure that you are creating actions from the new app. The legacy app will have the text “Built by HubSpot”.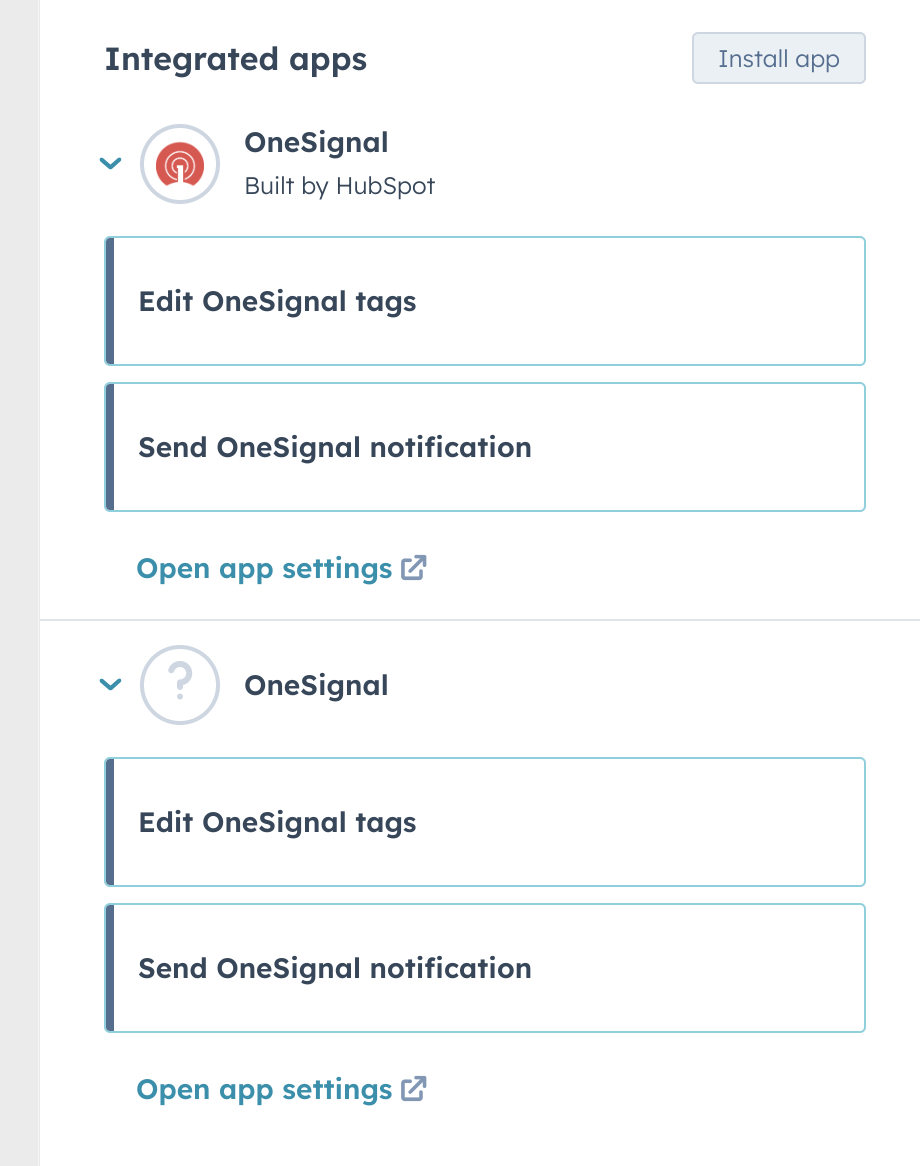
The menu of actions when both legacy and new OneSignal apps are installed. Use the one that doesn't say 'Built by HubSpot'
Test the workflow
After you replace the workflow actions and save & publish your workflow, you will be able to manually enroll contacts to test the workflow. We recommend you do this with just a single test contact at first, to ensure the workflow works correctly.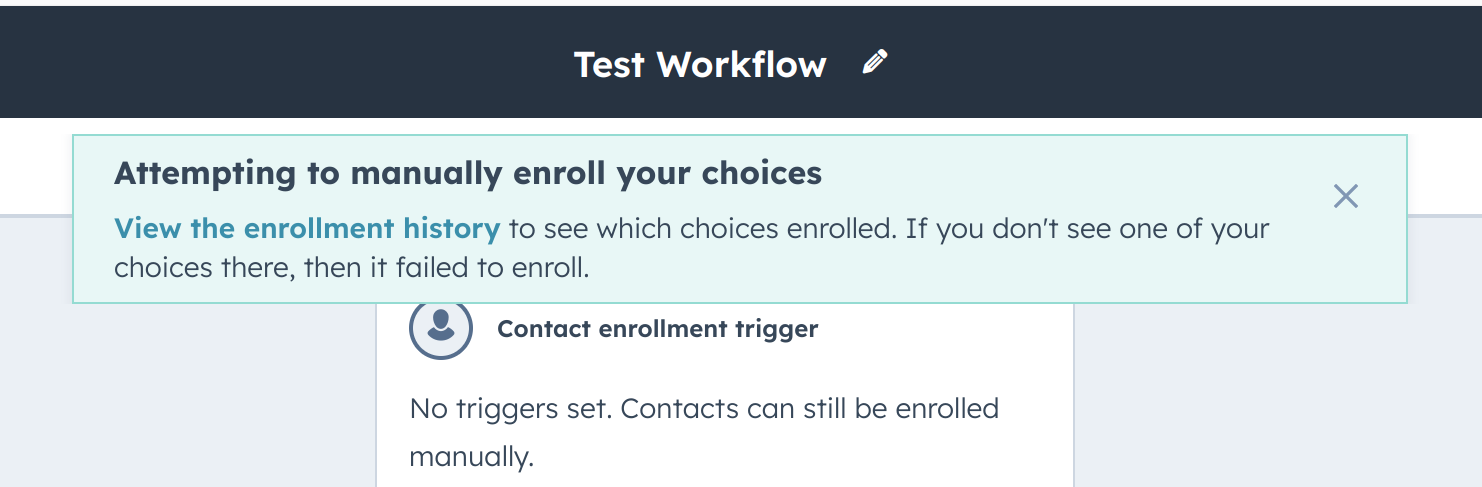
Example migrating HubSpot workflow from legacy integration.
Setup
Activate HubSpot in OneSignal
In OneSignal, go to your app’s Data > Integrations page and under HubSpot select Activate.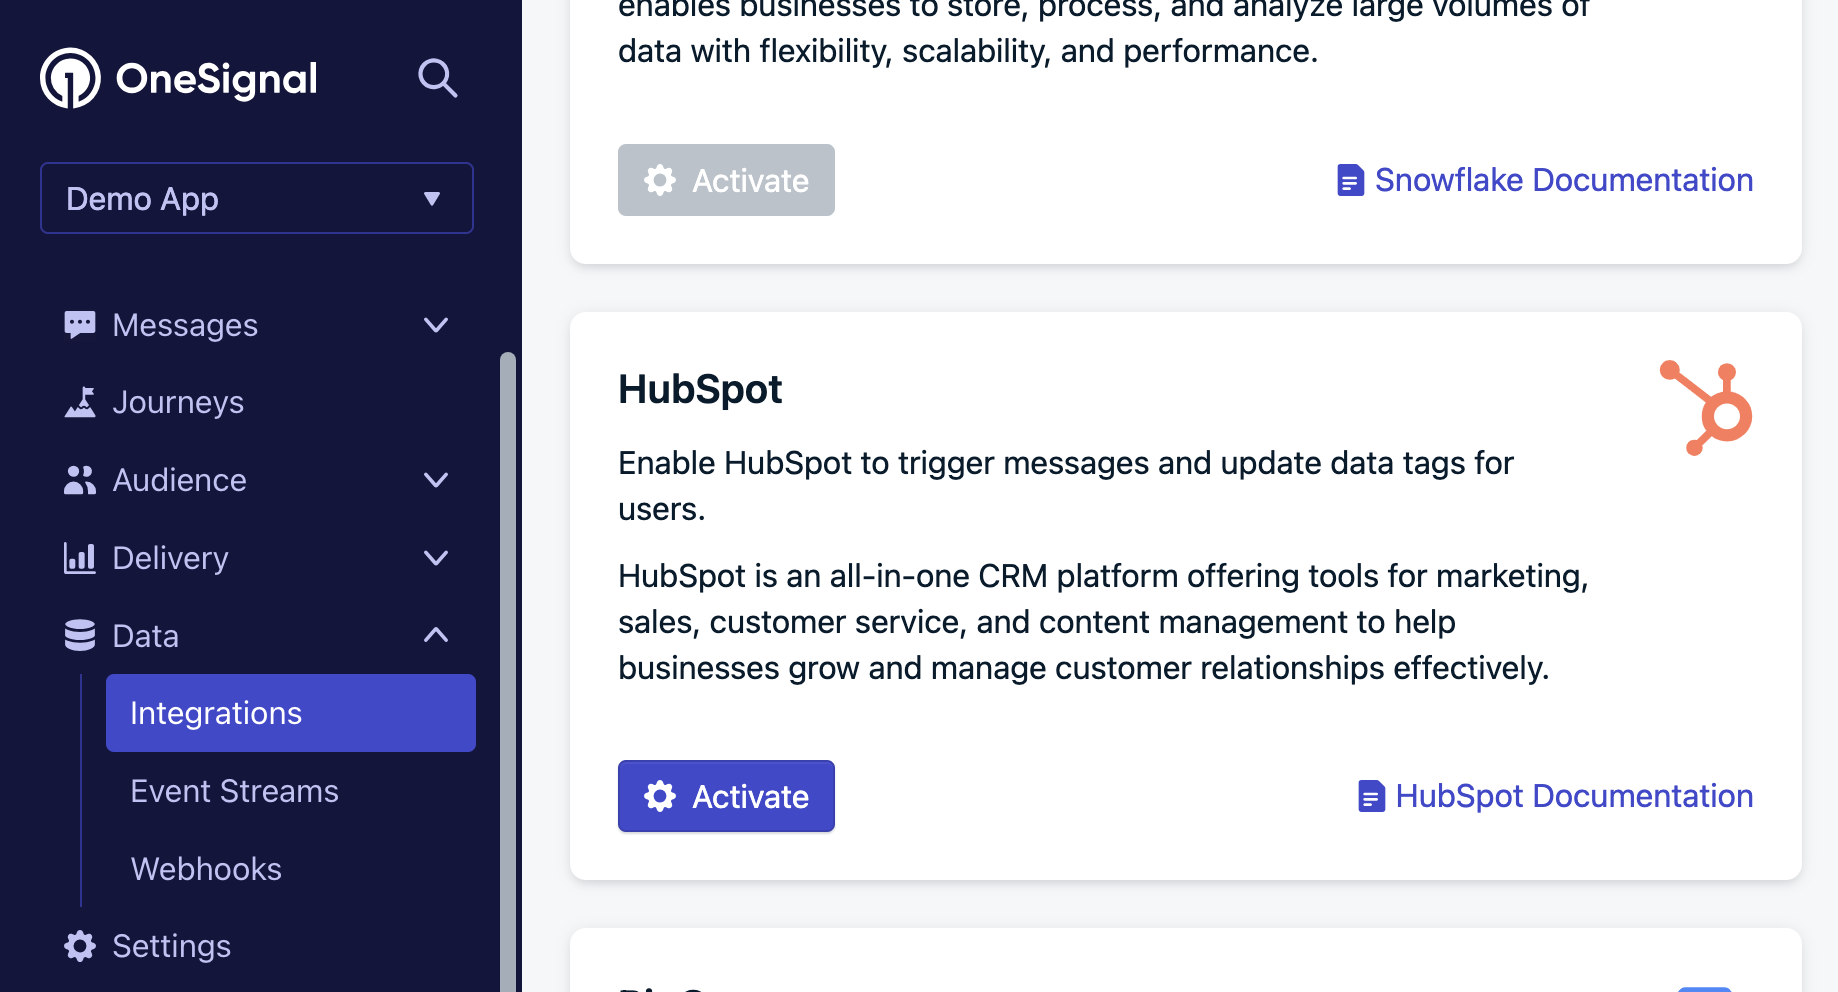
The HubSpot Integration card on OneSignal's Integrations page.
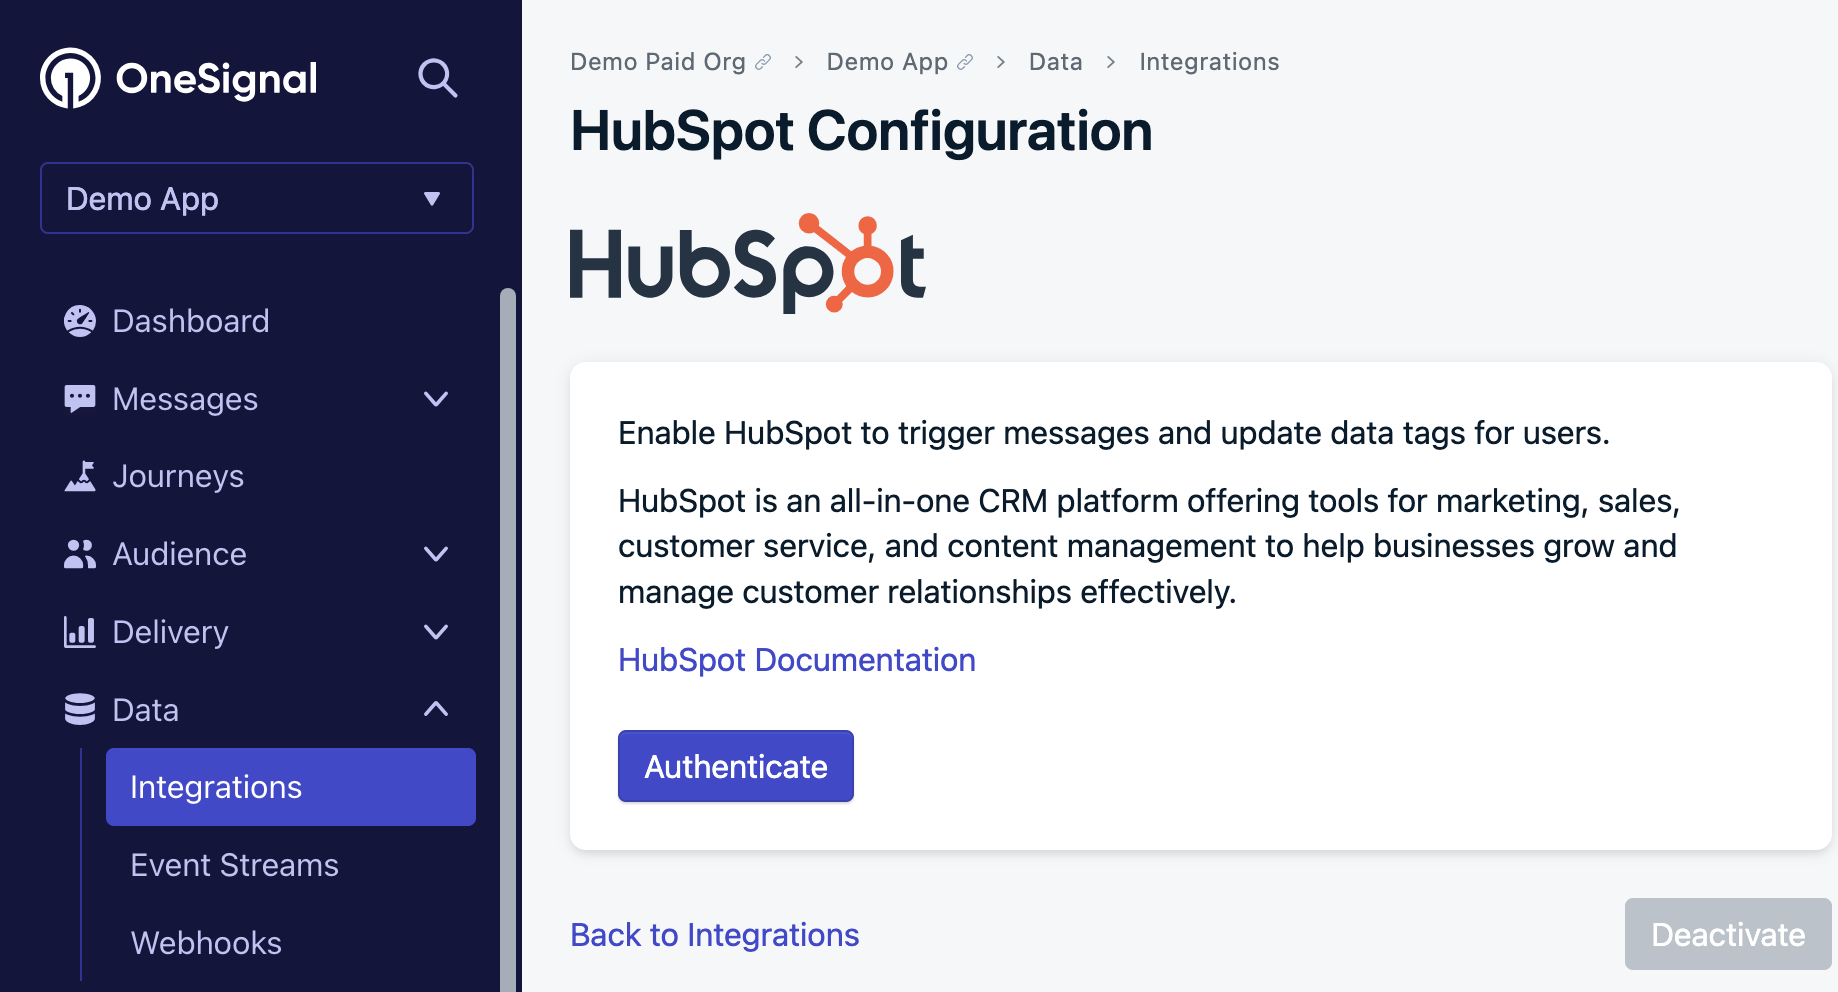
This will log you into HubSpot to select the account to connect with this OneSignal app.
Set the OneSignal External ID
In order to match users in HubSpot with users in OneSignal, you will need to set the External ID identifier in OneSignal to be the same value as some unique user property you collect within HubSpot. You will use this to match within your HubSpot workflows described below. External ID can be set in a number of ways, but it is highly recommended to use a property readily available in your mobile app or website so you can set it on your user’s push Subscriptions with our SDKlogin method.
Define a HubSpot workflow
Within HubSpot, navigate to Automation > Workflows and click Create workflow. Select Contact-based and configure your enrollment. To add the OneSignal action, click the + and search for OneSignal.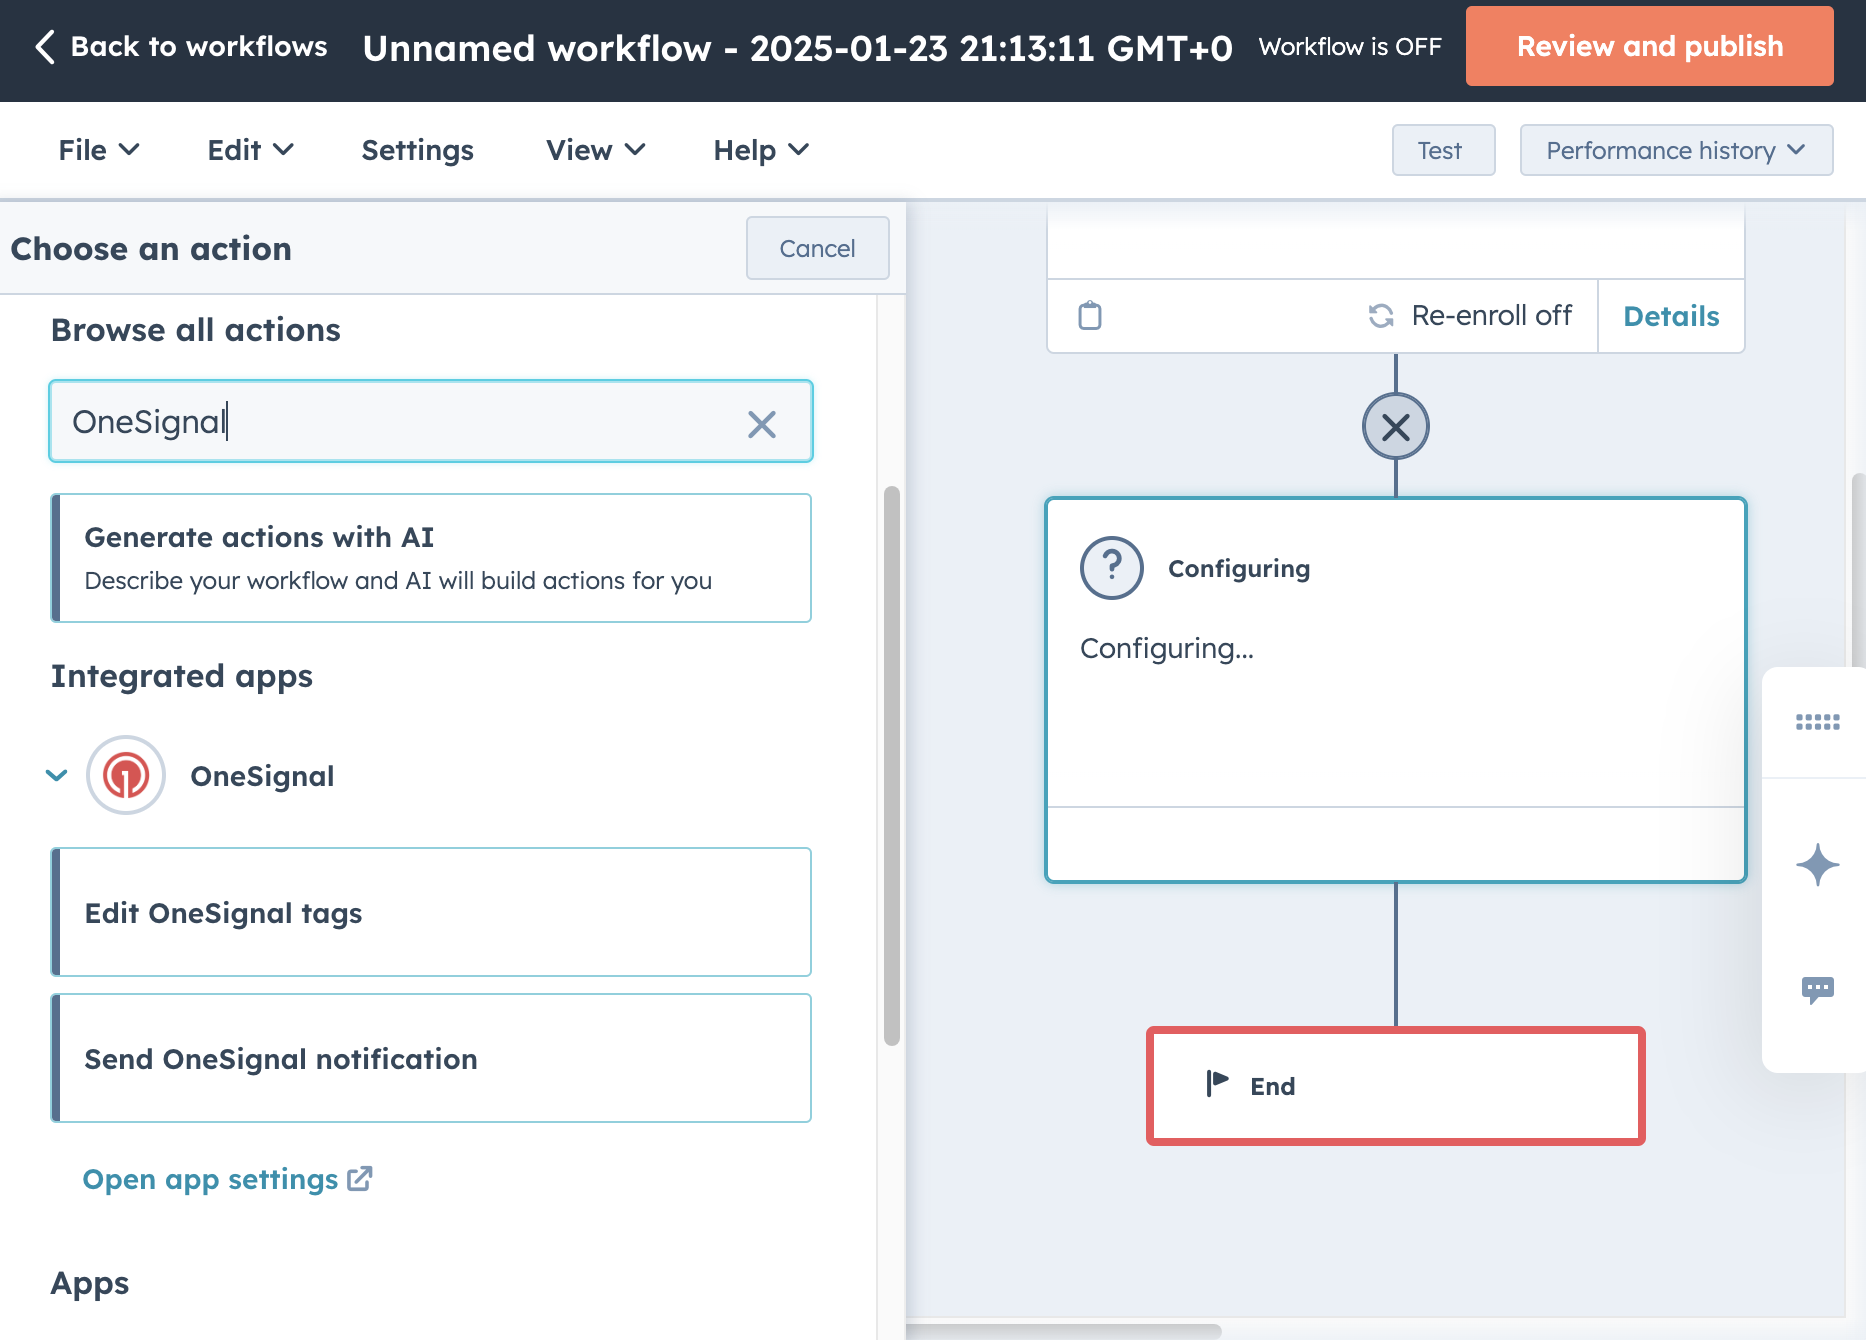
The OneSignal app's Workflow integration actions.

Example shows how to set the OneSignal App and External ID in the OneSignal workflow actions.
OneSignal App field
This is the OneSignal app you connected to the HubSpot account during the initial setup instructions above.External ID field
This is the property you set on your users in your OneSignal app that matches a property set in HubSpot.Create OneSignal users from HubSpot
You can create Users in OneSignal as they are created or passed through a workflow in HubSpot. You can use the create user node to ensure that OneSignal and HubSpot are in sync. If the following HubSpot properties are set it will create corresponding Subscriptions for that user:- HubSpot Email property will create an email subscription in OneSignal for that user.
- HubSpot Phone number property will create an sms subscription in OneSignal for that user.
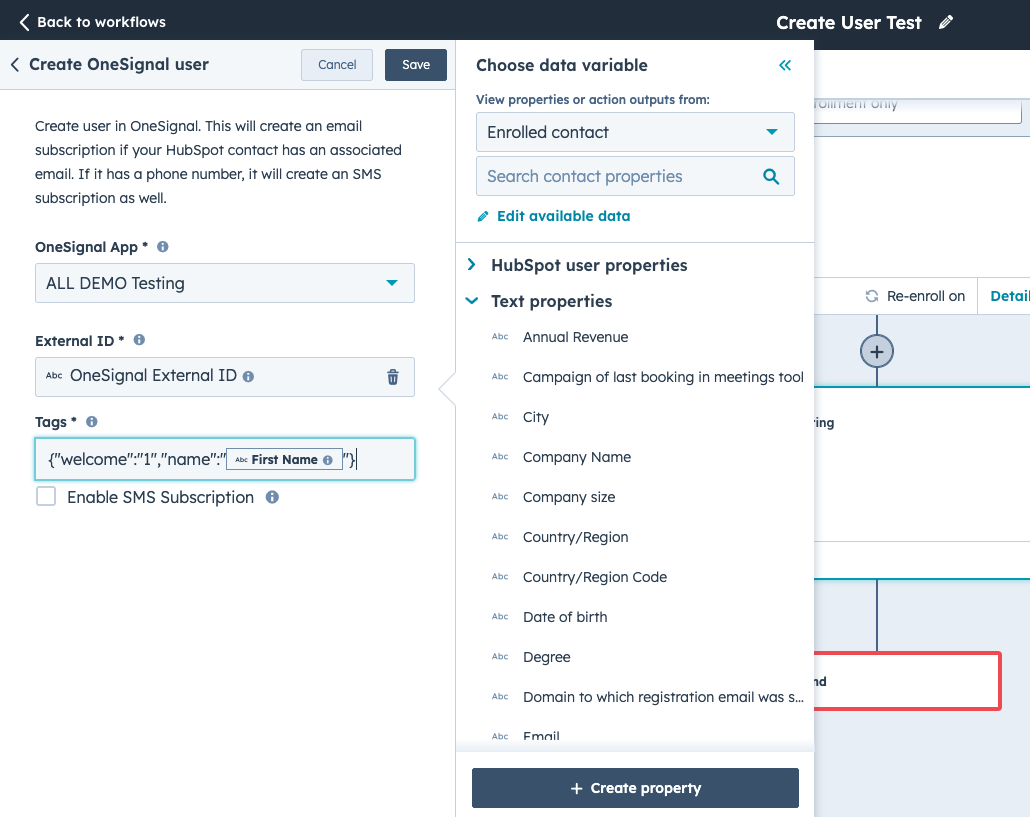
Example - OneSignal create user node in HubSpot.
Edit OneSignal tags from HubSpot
OneSignal uses Tags for adding custom properties onto users. Tags can be used to add HubSpot Contact Properties into OneSignal for Message Personalization and/or Segmentation which can be used for many things including sending In-App Messages.Tags field
Enter a JSON string with the format{ "key1" : "value1", "key2" : "value2" } and press Save.
You can inject HubSpot properties as tags so they are stored in OneSignal. An example of this is adding the user’s name as a tag so you can address the user by their name in their messages.
You can delete tags by setting the "value" to an empty string like this: { "key" : "" }. This is helpful if you have tag data in OneSignal you want deleted. If the tag doesn’t exist, it will be omitted.
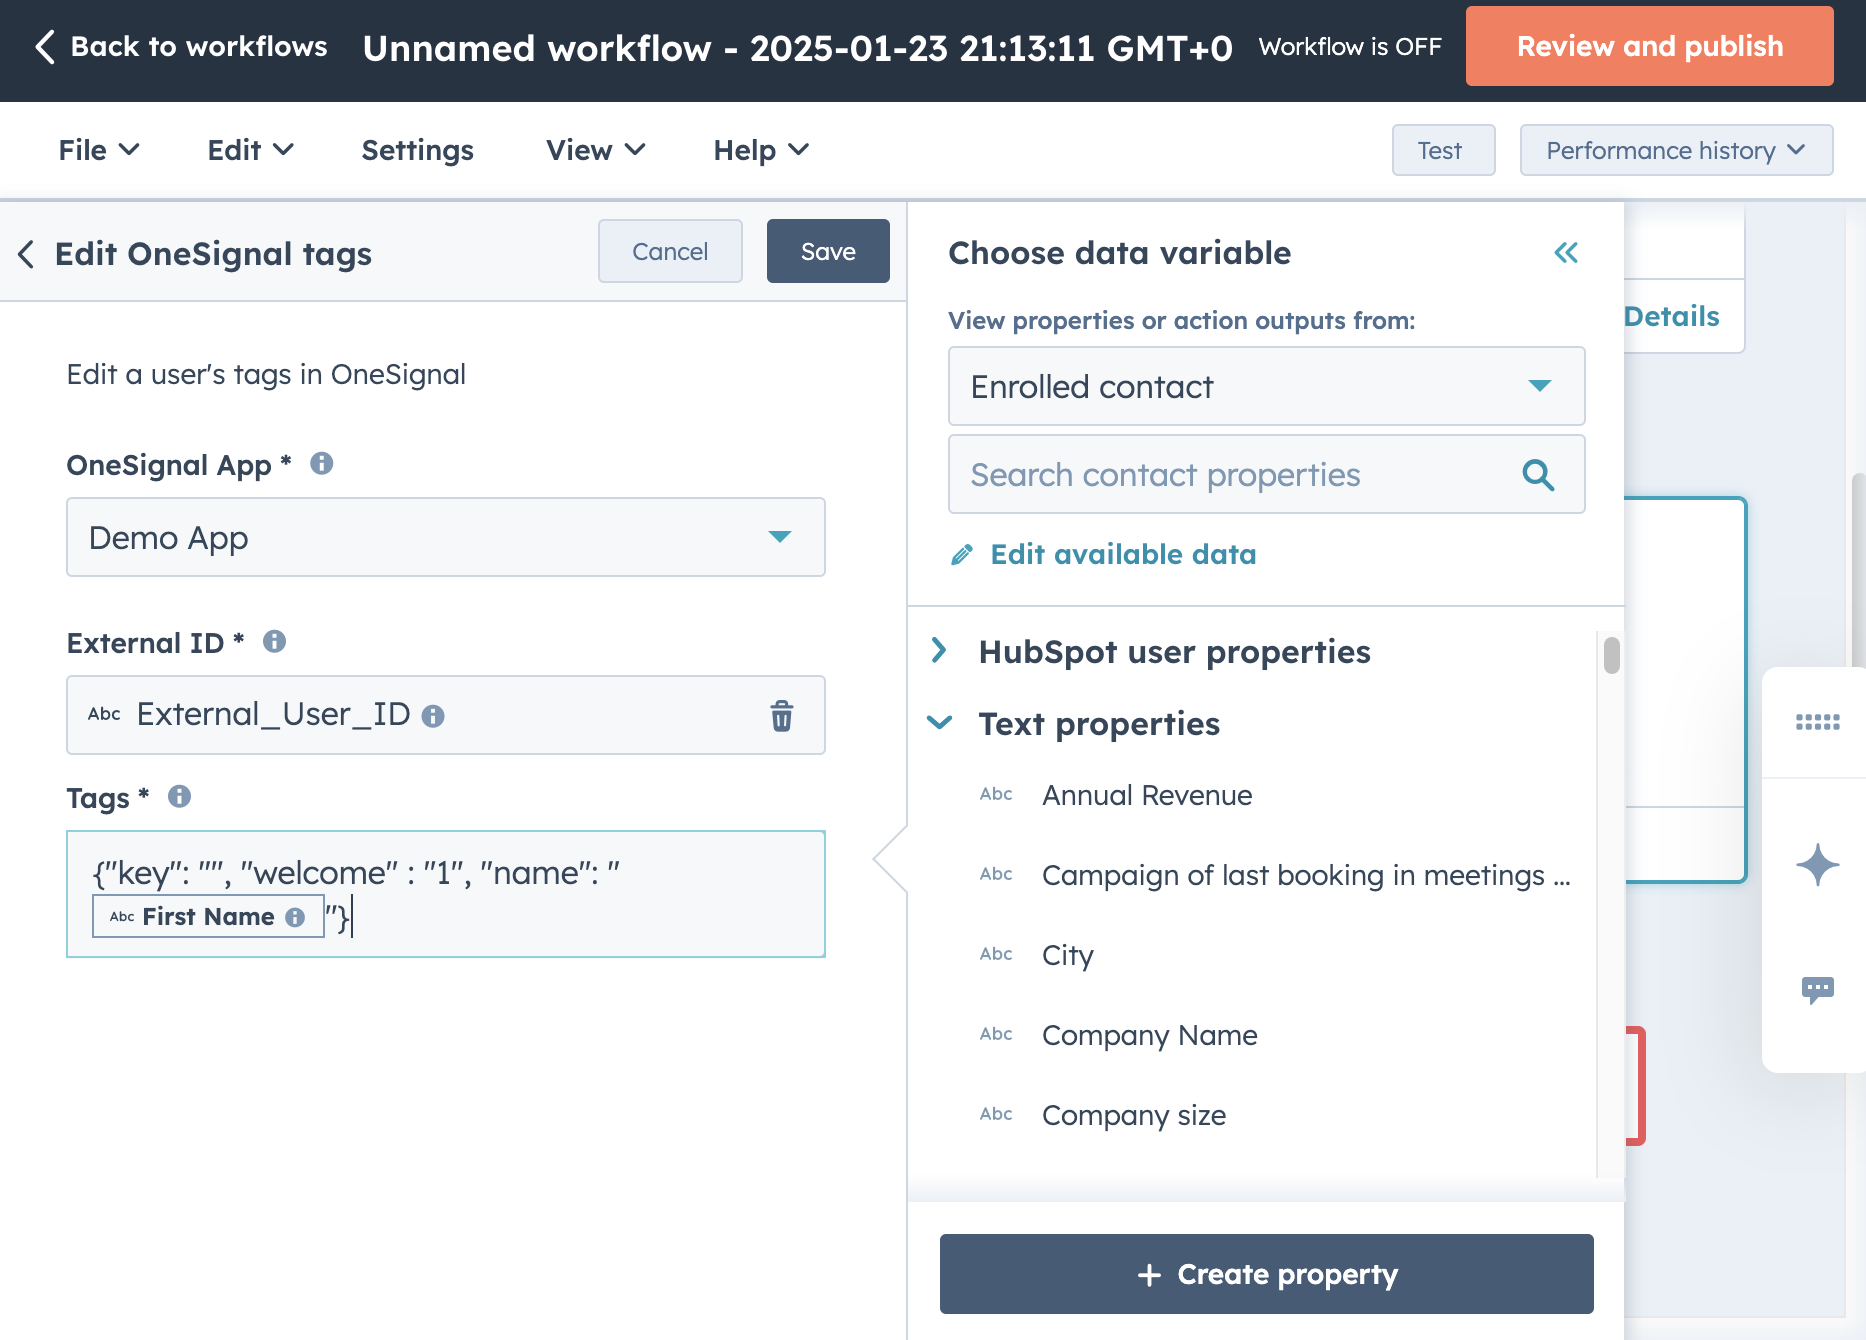
Example shows setting 2 tags: "welcome" : "1" and "name" : "the First Name property as set in HubSpot". Along with the deletion of a tag called "key".
Send OneSignal notification
You can send a push notification by filling out the form provided or select predefined Templatesfor the ability to send Email or SMS. It is recommended to Match by OneSignal external_id as the matching by Email is for legacy customers or if you set email using ouraddEmail SDK method.
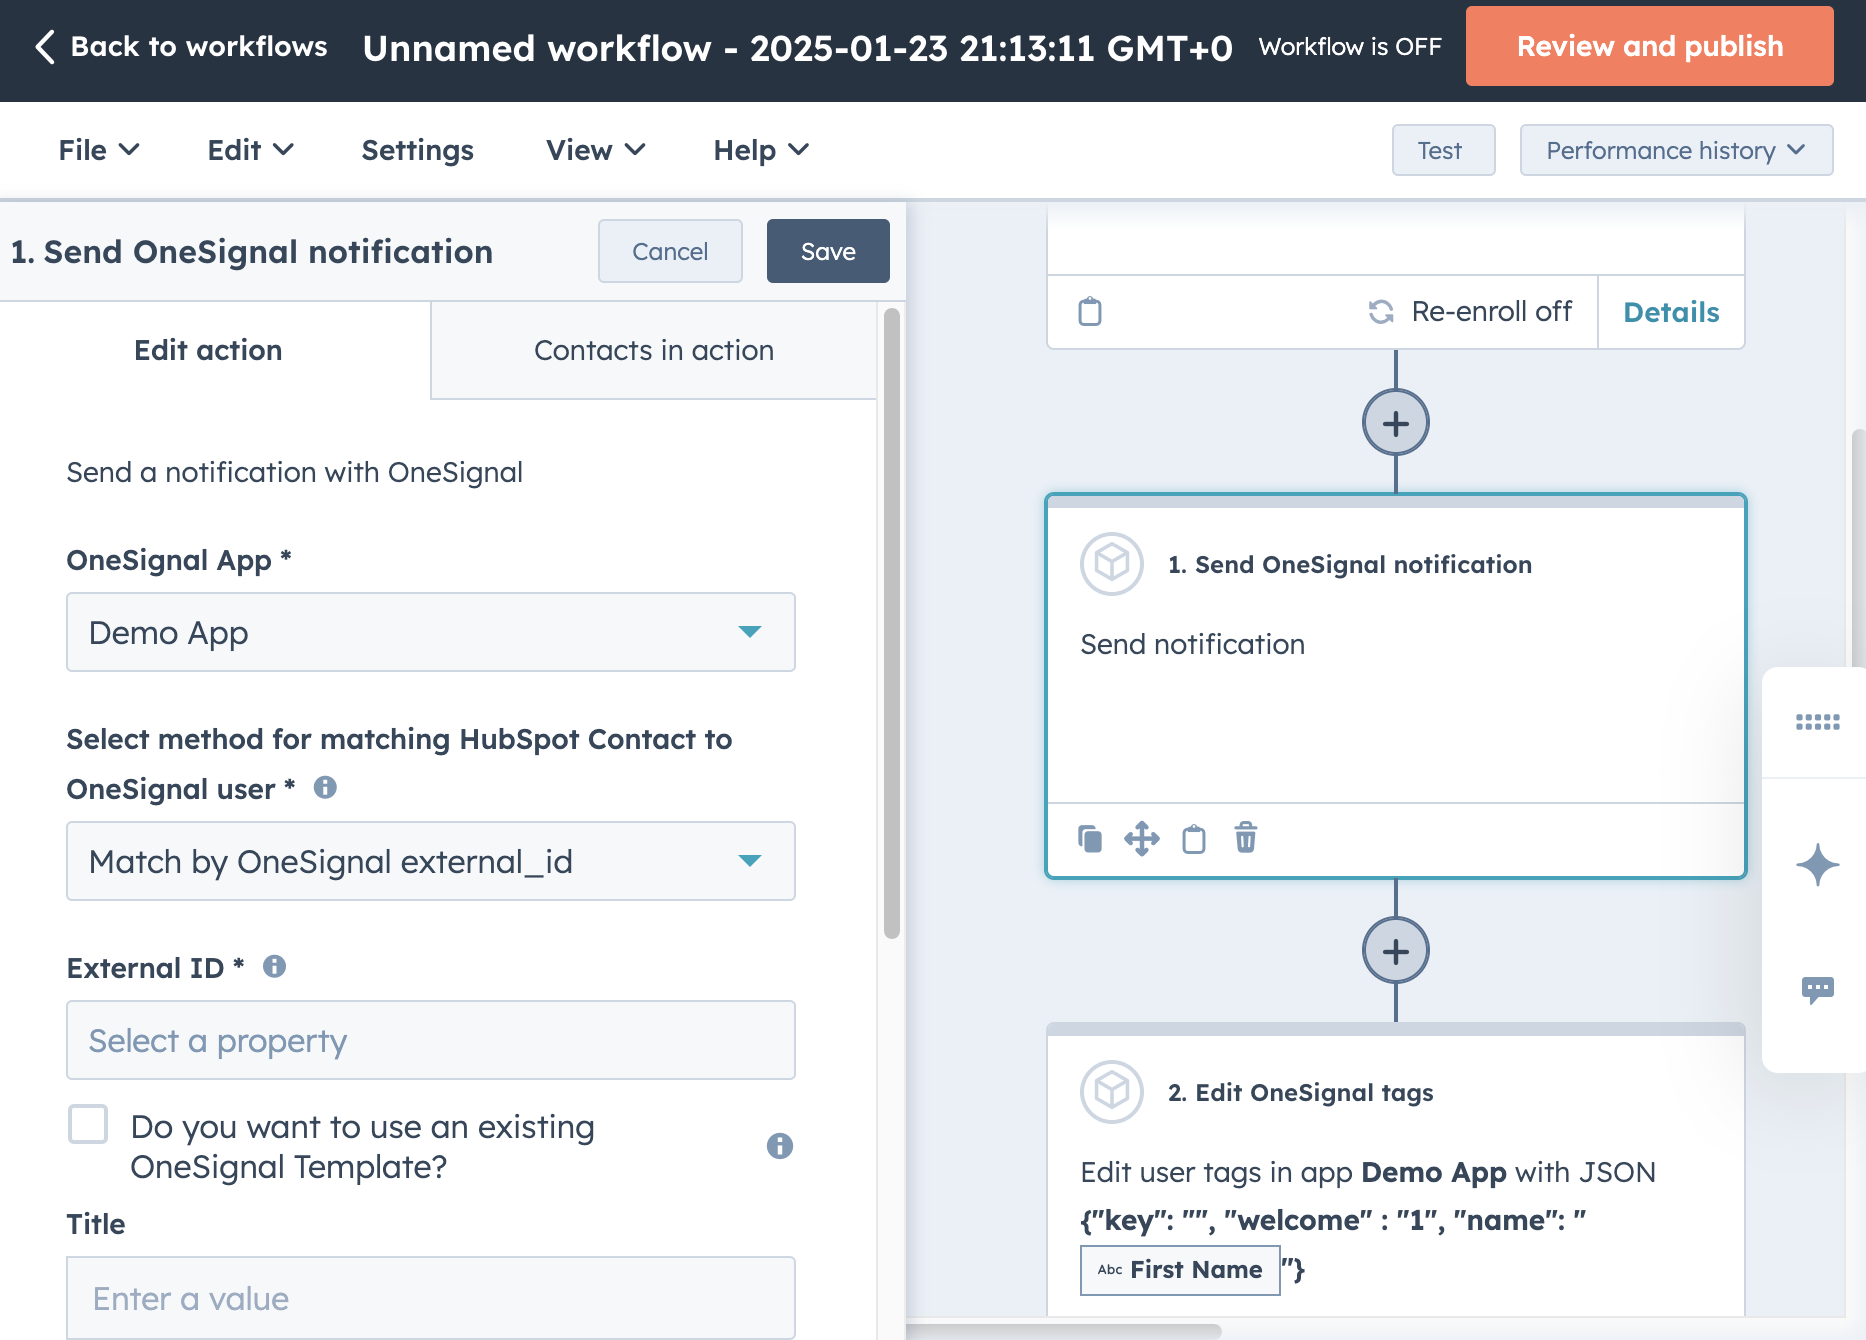
Configuration of the Send OneSignal Notification action
Templates option
You can create Templates in the OneSignal dashboard or our API. By using templates, you can send SMS, Email, or push notifications.Form fields option
If you don’t use a template, you can only send push notifications using text into various fields (Title, Subtitle, Message, Image URL, Launch URL). Email and SMS can only be used via templates. The benefit of this option is you can also use HubSpot contact data (e.g.,First Name, favorite color) to personalize the notification fields. OneSignal will correctly format the message for different devices and messaging channels.
Click Save when finished.
FAQ
What data is shared between HubSpot and OneSignal?
| HubSpot | Direction | OneSignal App | Description |
|---|---|---|---|
| Contacts | ➡️ | External ID | HubSpot Contact data is used to match with OneSignal users via the External ID. |
| Workflows | ⬅️ | Message Templates | OneSignal Message Templates are available for selection in HubSpot Workflows |
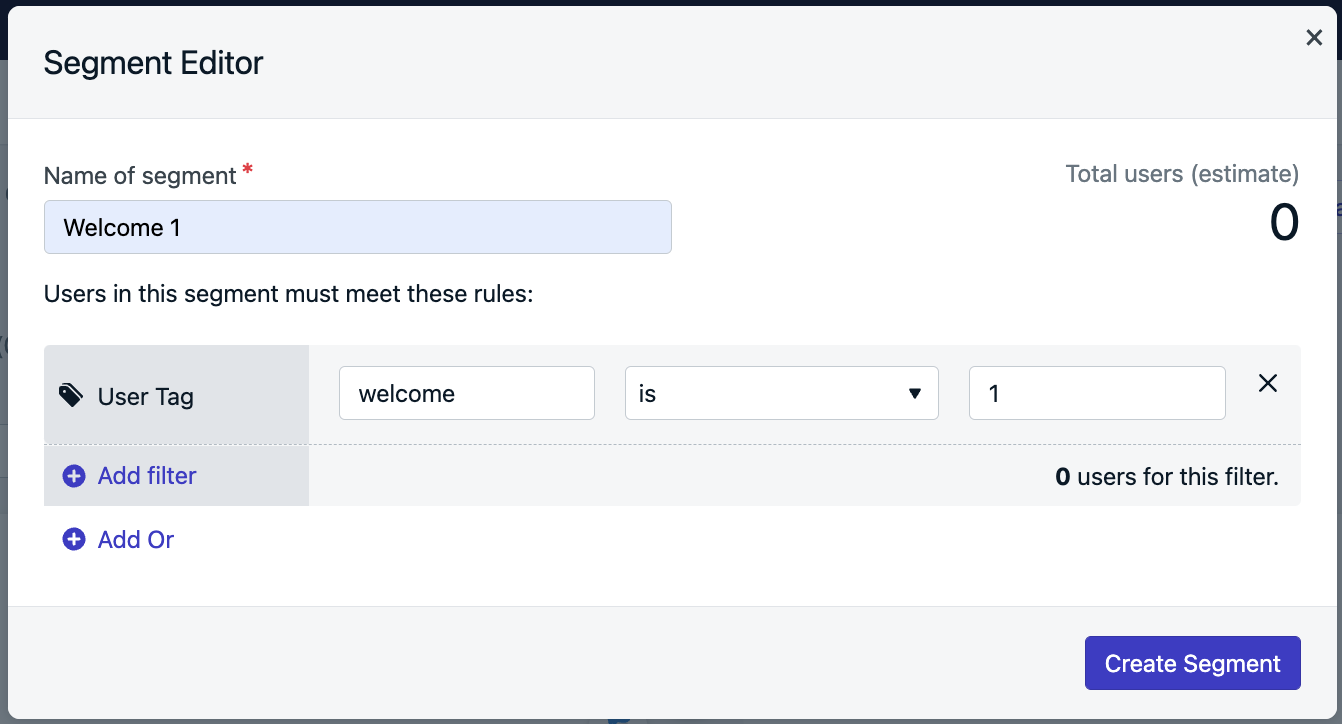
How can I send in-app messages with HubSpot?
Within the OneSignal Dashboard Audience, select New Segment. Give it a name based on the tags selected and select the User Tag filter. Input the"key" and "value" set in HubSpot and click Create Segment.
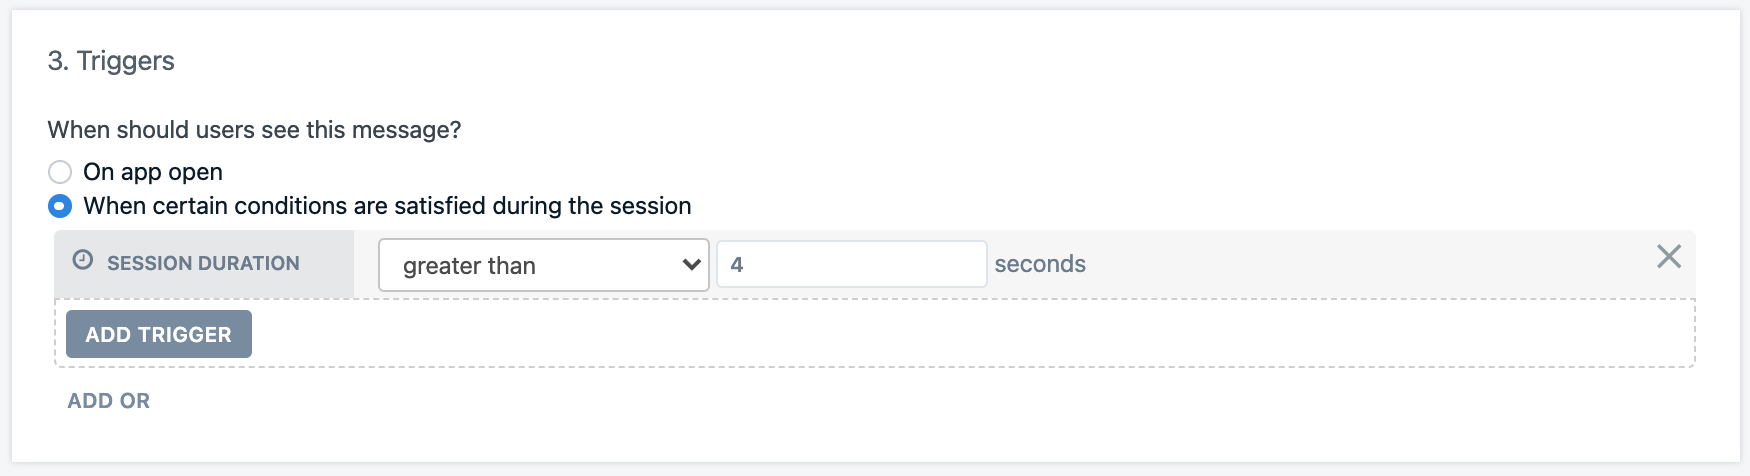
Trigger options
In-App Messages need to be triggered to show on the device. Triggers can be time-based or programmatic. Note: a tag is not a trigger. If the tag is added while the device is currently using the app, the IAM will not display. The In-App Message will show the next time the user returns to your app in a new session. New sessions are counted upon the app being out-of-focus for 30 seconds. Under “3. Triggers” you can set the IAM to display based on the following triggers:- On App Open
- Session Duration > or < a set number of seconds
- Duration since another IAM was shown
- Programmatically with the OneSignal SDK